Day 15 - 30 Days on the Oracle Cloud


One of my fondest memories of my previous job was working with VMware virtualization products. With VMware Workstation, system administrators had the ability to "move" a virtual machine (VM) from a local workstation to vSphere. It was no surprise then that I was very exited (and itching to play) when VirtualBox 6.0 was released with a new feature: support for exporting a VM to Oracle Cloud Infrastructure (OCI)!
In a Nutshell
Here are major tasks that we need to accomplish:
- Prepare OCI to receive our VM
- Create an OCI user and generate an API key
- Create a Bucket in the Object Store
- Configure VirtualBox 6, add a Cloud Profile
- Deploy a VM to the OCI
All tasks were performed in a Windows environment.
Preparing OCI - Compartments and Networks
On Day 2 of our journey, we went through some of the steps needed to successfully deploy a Compute Instance (VM). Follow the instructions to create a compartment and the required network components, but do not create the Compute Instance. One cool feature I failed to mention in that article though, was the "easy option". I had gone through step-by-step, how to create the Virtual Cloud Network (VCN), subnets, an Internet Gateway and a Route Table, which is important should you need to customise the network layout. However, the OCI does offer us a simple alternative:
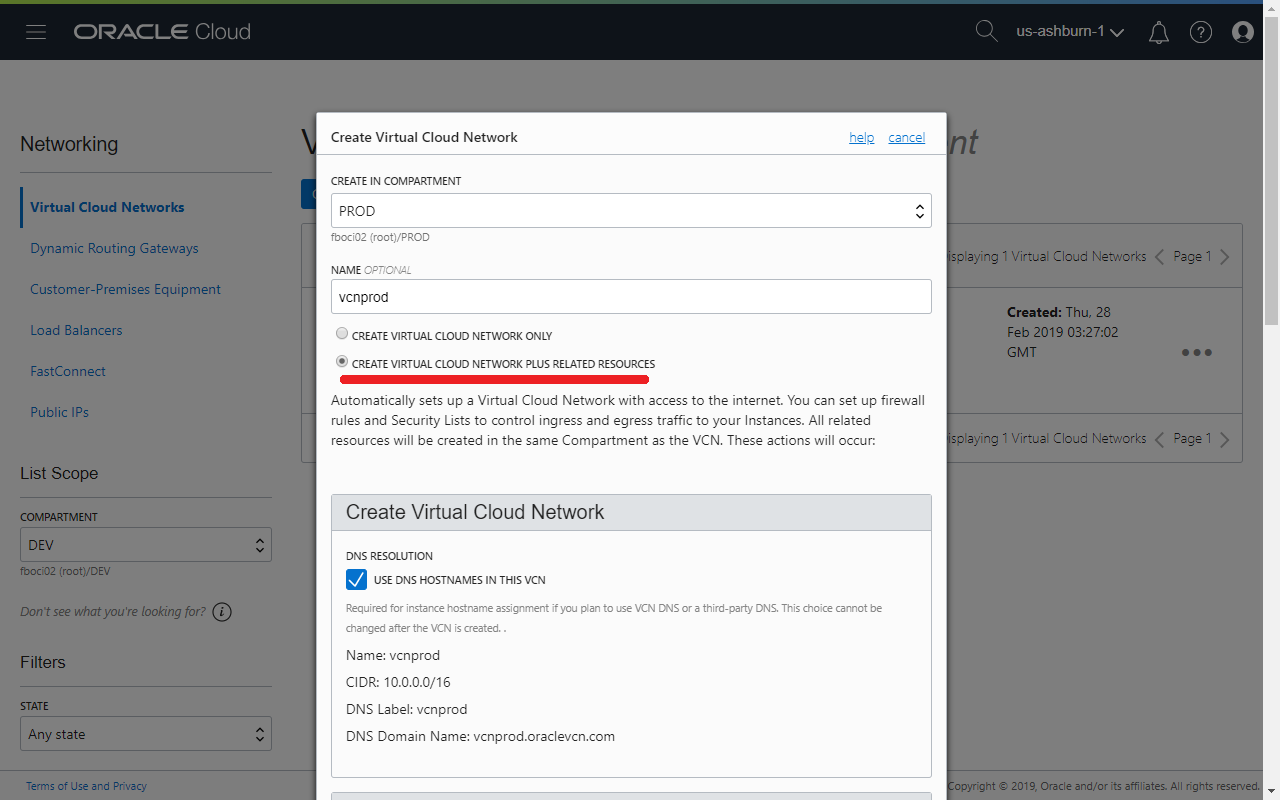
Selecting the option CREATE VIRTUAL CLOUD NETWORK PLUS RELATED RESOURCES will automatically create the VCN, an Internet Gateway, a Route Table and three public subnets, with one in every Availability Domain.
Create OCI User and Generate API Key
An Oracle Identity Cloud Service (IDCS) account is provisioned when a cloud account is created. Adding API keys to IDCS users follows a different path and will not be discussed here. We will instead, create an OCI user for deploying VMs to the cloud.
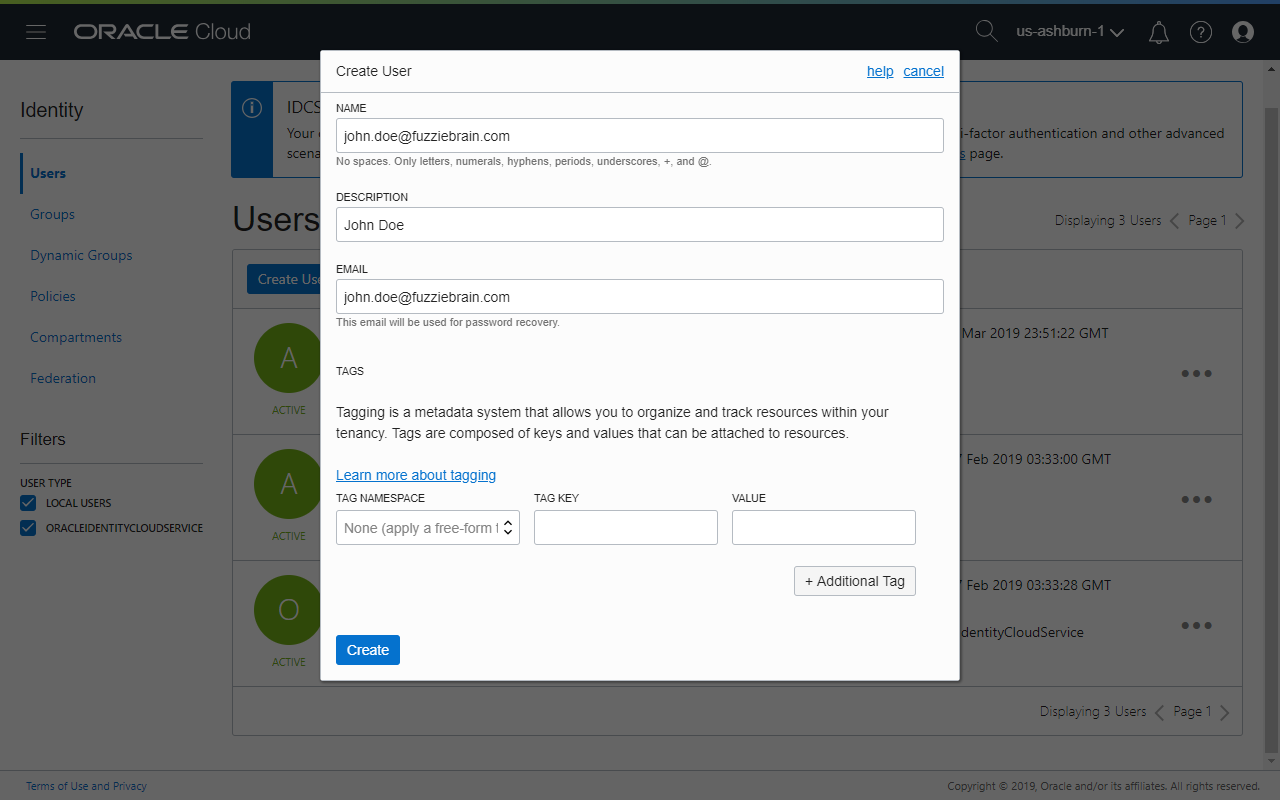
- Click Identity Users
- Click Create User and enter:
- NAME: Desired username
- DESCRIPTION: User's full name
- Email: Email address for recovery
- Click on the username of the new user created.
- Optionally, click on Create/Reset Password to generate a single-use password.
Next, setup your workstation to work with OCI APIs.
Please follow the instructions here to obtain the necessary keys and OCIDs. The artifact and values needed are documented on this page. To summarise, here's what's needed:
- On Windows, please install Git Bash. On Linux, most of the tools and commands are already available in the operating system.
- Create the directory
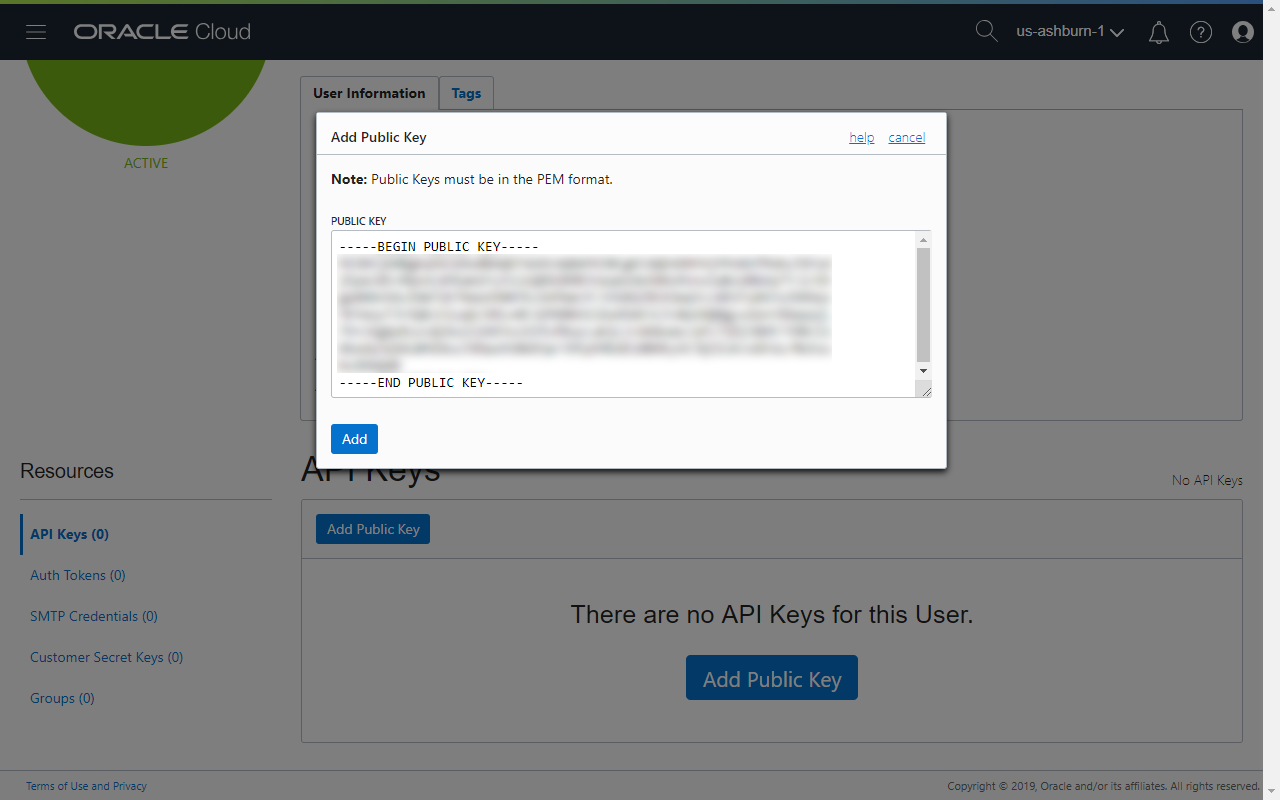
~/.ocithat stores the private key, and for the various SDKs available, a configuration file. - Generate a private key and its corresponding public key in PEM format.
- Grab the contents of the public key and add this to the OCI user account's collection of API Keys.
- Copy the fingerprint from OCI console.
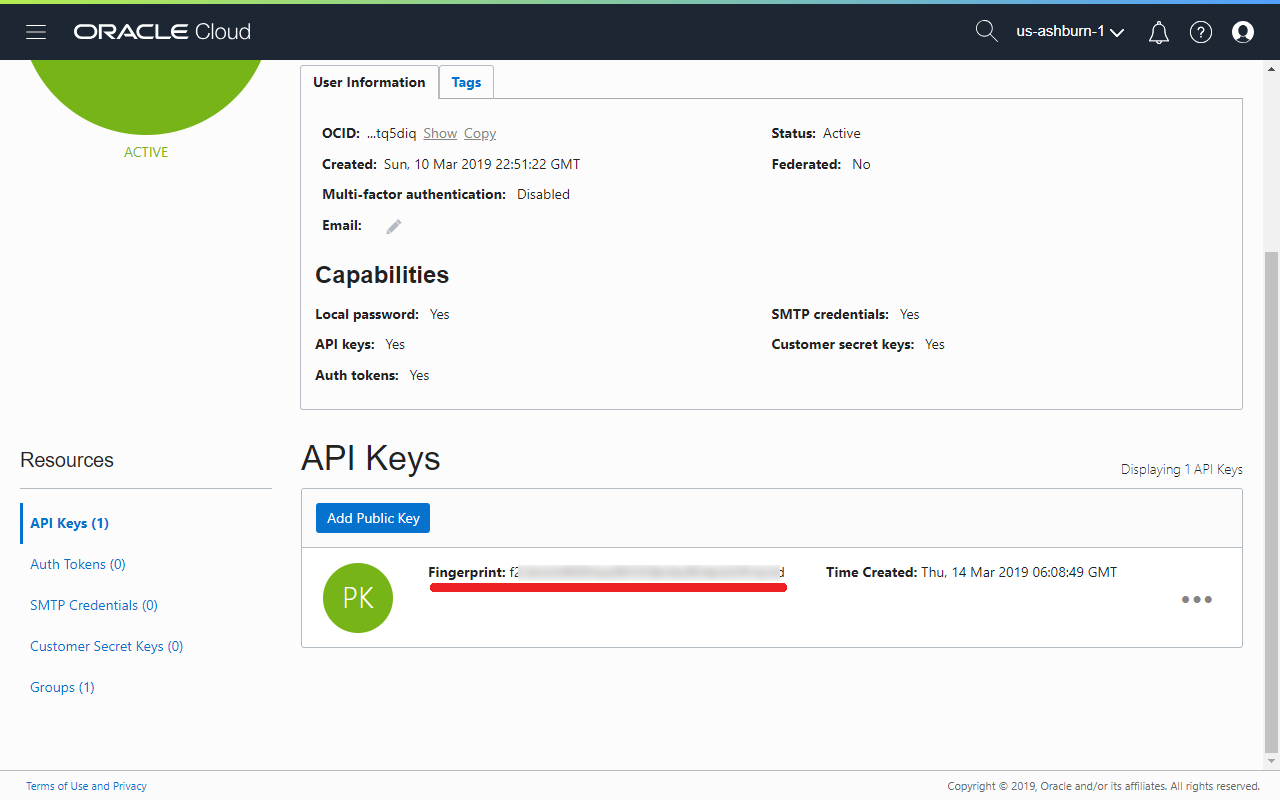
- Obtain the OCID values from the OCI console.
- Decide which region to deploy the server.
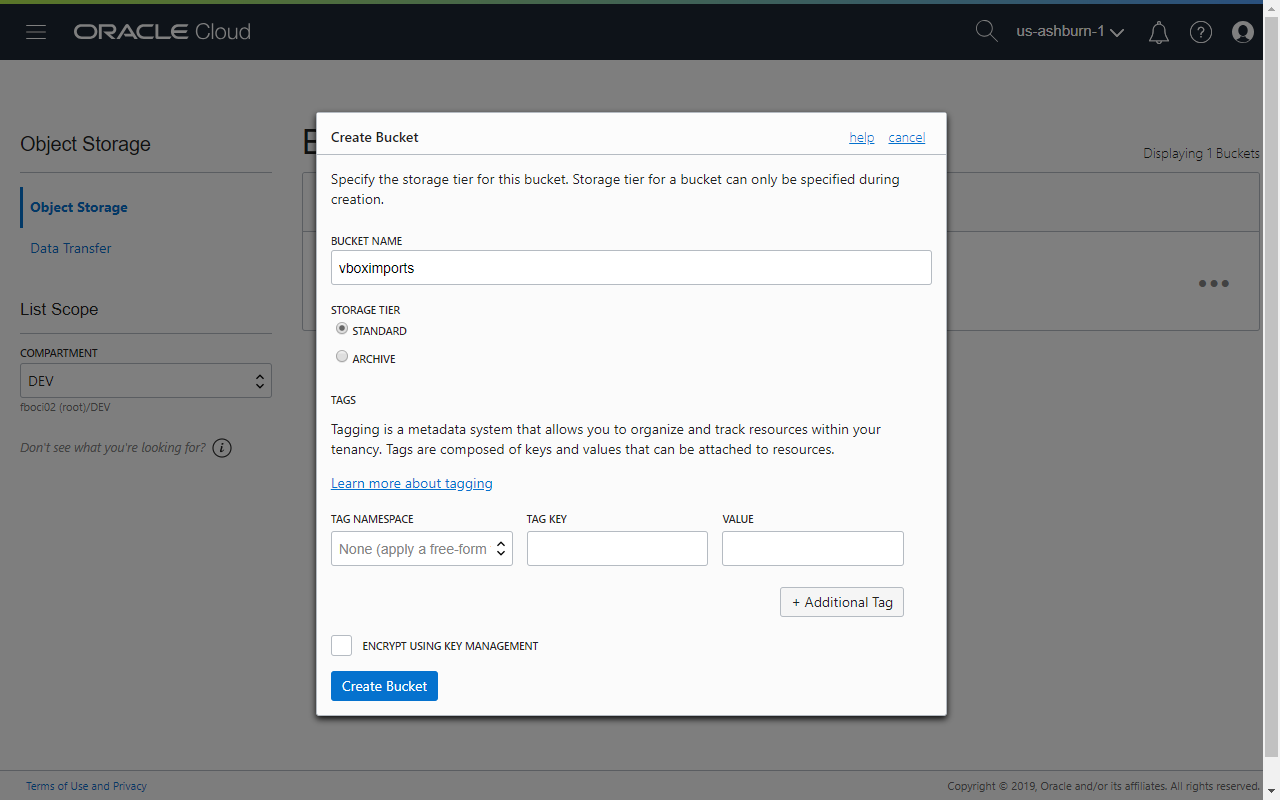
Create a Bucket on the Object Store
- Click Object Storage Object Storage
- Click the Create Bucket button.
- Enter a Bucket Name and choose Standard for the Storage Tier. Click the Create Bucket button when done.
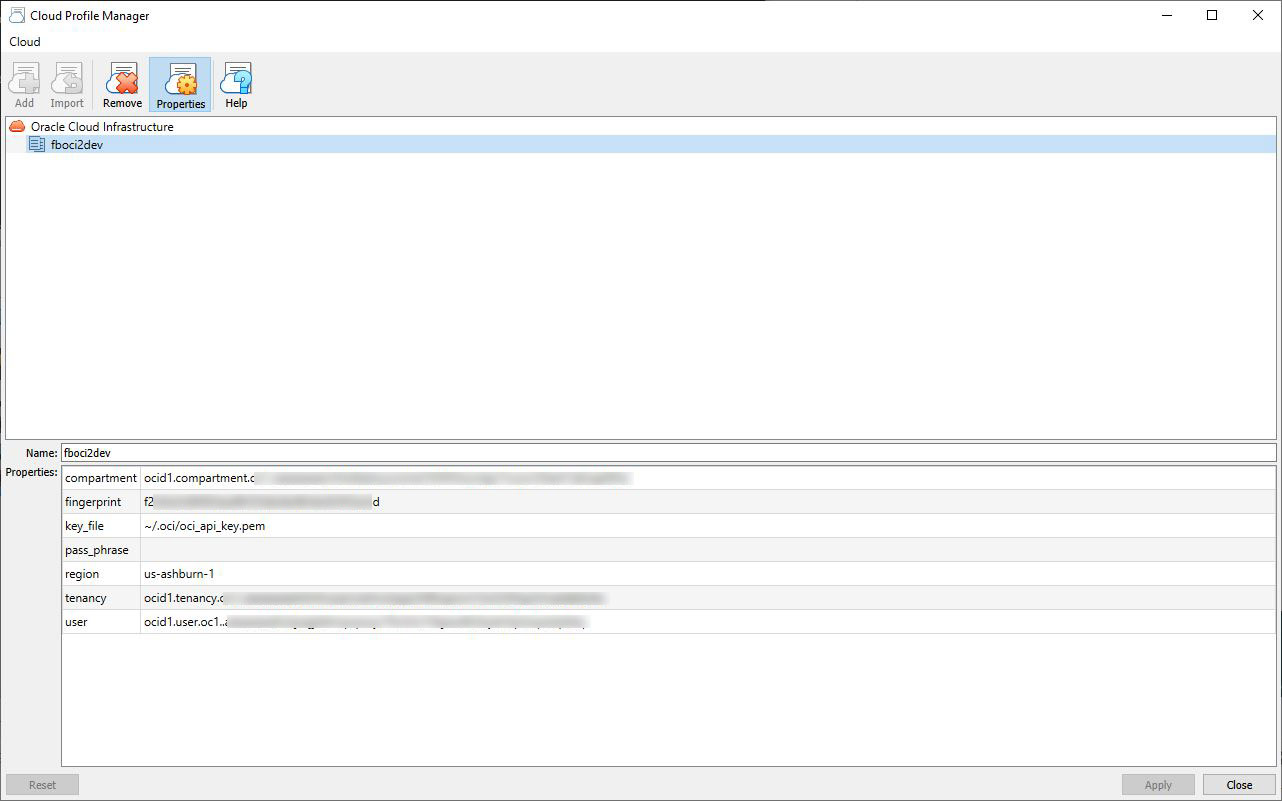
Add a Cloud Profile
- Launch VirtualBox 6.
- Click File Cloud Profile Manager
- Click the Add button and enter a profile name.
- Enter the required OCIDs and values relating to the API key. Be sure to hit Apply when done!
Deploy a VM to the Cloud
- Click File Export Appliance
- Select the VM to export and then click Next.
- For Format, select Oracle Cloud Infrastructure and then select the Account that you wish to deploy the VM to.
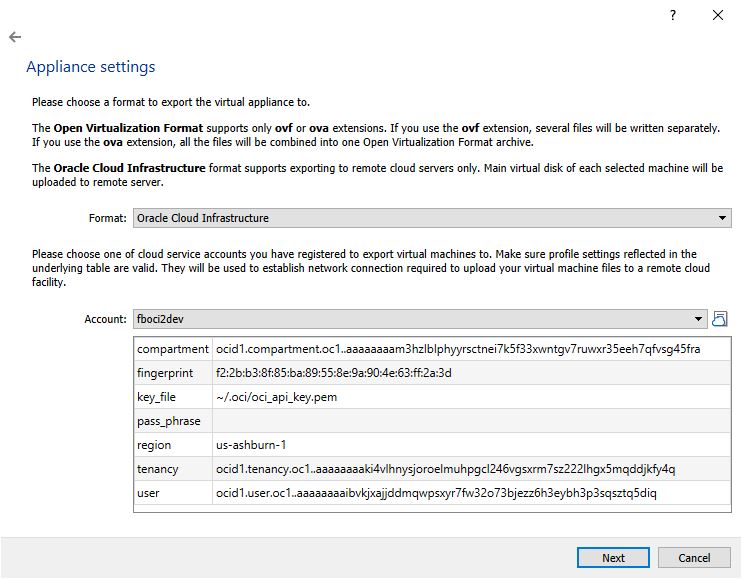
- Click Next. Using the private key and other information provided in the selected Cloud Profile, VirtualBox will call the OCI APIs to retrieve information and available resource selections for the target Compute Instance. You may change the name of the new Compute Instance, select a different instance Shape or specify a disk size etc.
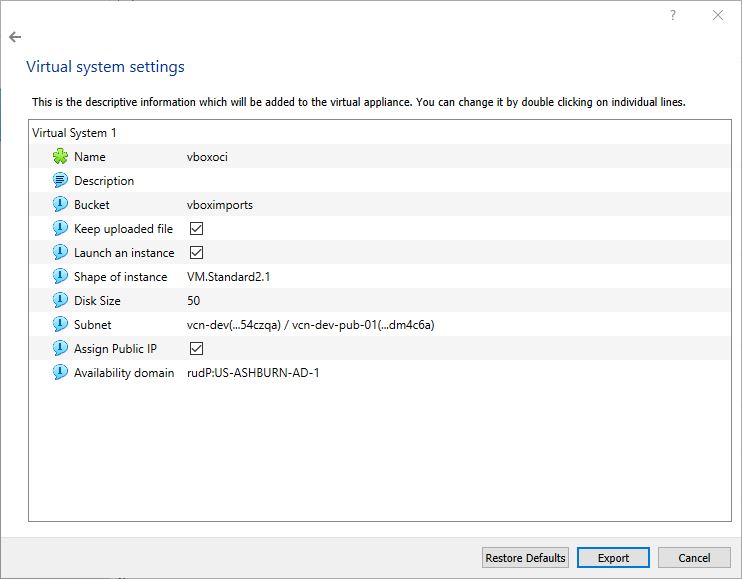
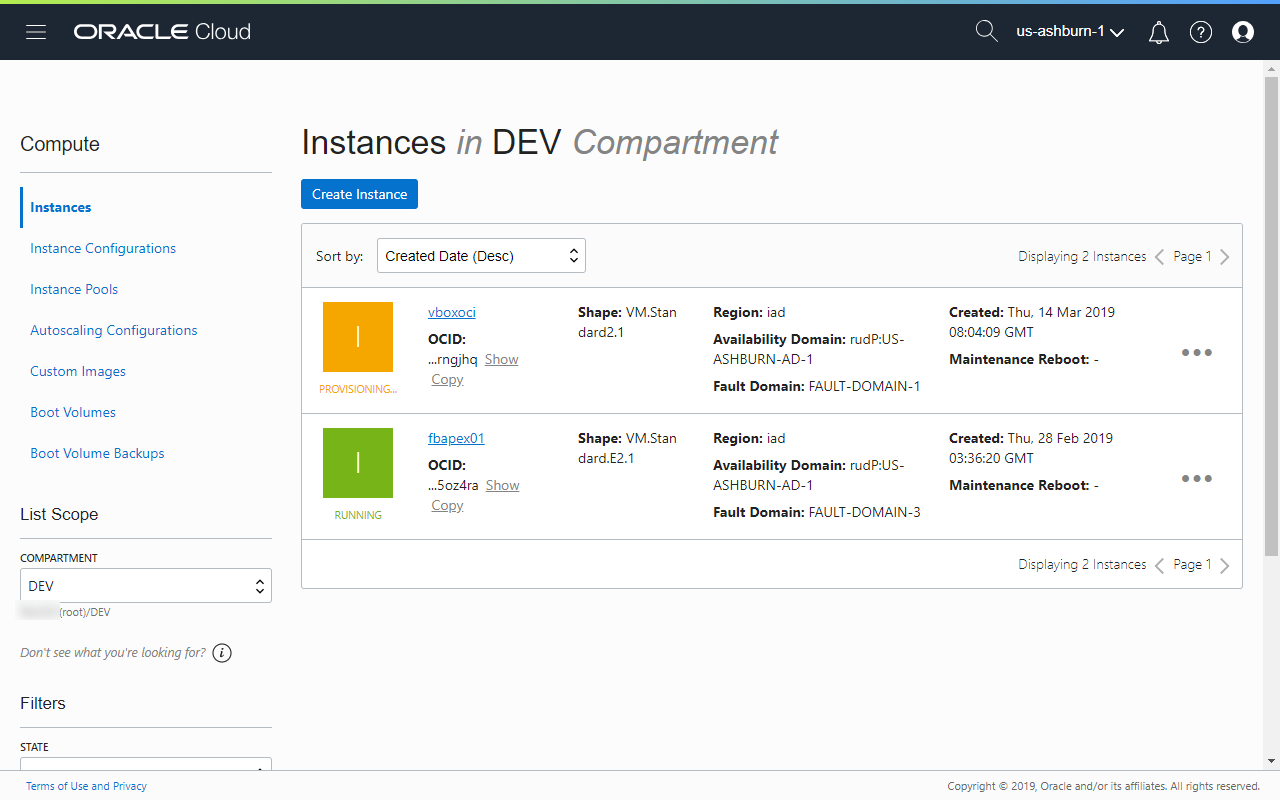
When ready, click the Export button and VirtualBox will first export the VM as an image and then upload it to the target Object Store Bucket. Once the upload process is completed - and it can take a very long time - the OCI will create the instance from the image and voila! Like magic!
What Next?
For this simple proof-of-concept, I had created a base Oracle Enterprise Linux 7 using Vagrant without putting anything much on it except the necessary user accounts so that I can access the Compute Instance later. This approach can be used, for example, to install and configure a full Oracle Application Express (APEX) stack in VirtualBox, using either OXAR or more recently, helper scripts for Docker.