Day 2 - 30 Days on the Oracle Cloud

Remember this ad?
IBM BladeCenters were revolutionary at its time. System Administrators would know that one of the largest expense when building out a server infrastructure is real estate costs. Shrinking racks of servers and consolidating into blade servers meant you could put more hardware in less space. However, they were expensive and had their fair share of skeptics. Adopting a proprietary backbone simply meant you were investing into a brand and hence subject to vendor lock-in.
Then came virtualization. With more powerful CPUs, cheaper RAMs and more cost-effective storage solutions, we are now able to cramp more servers into a single server. Other pieces of traditional server infrastructure, e.g. network and storage, could be "software-defined". The server footprint very much "vanished into thin air"!
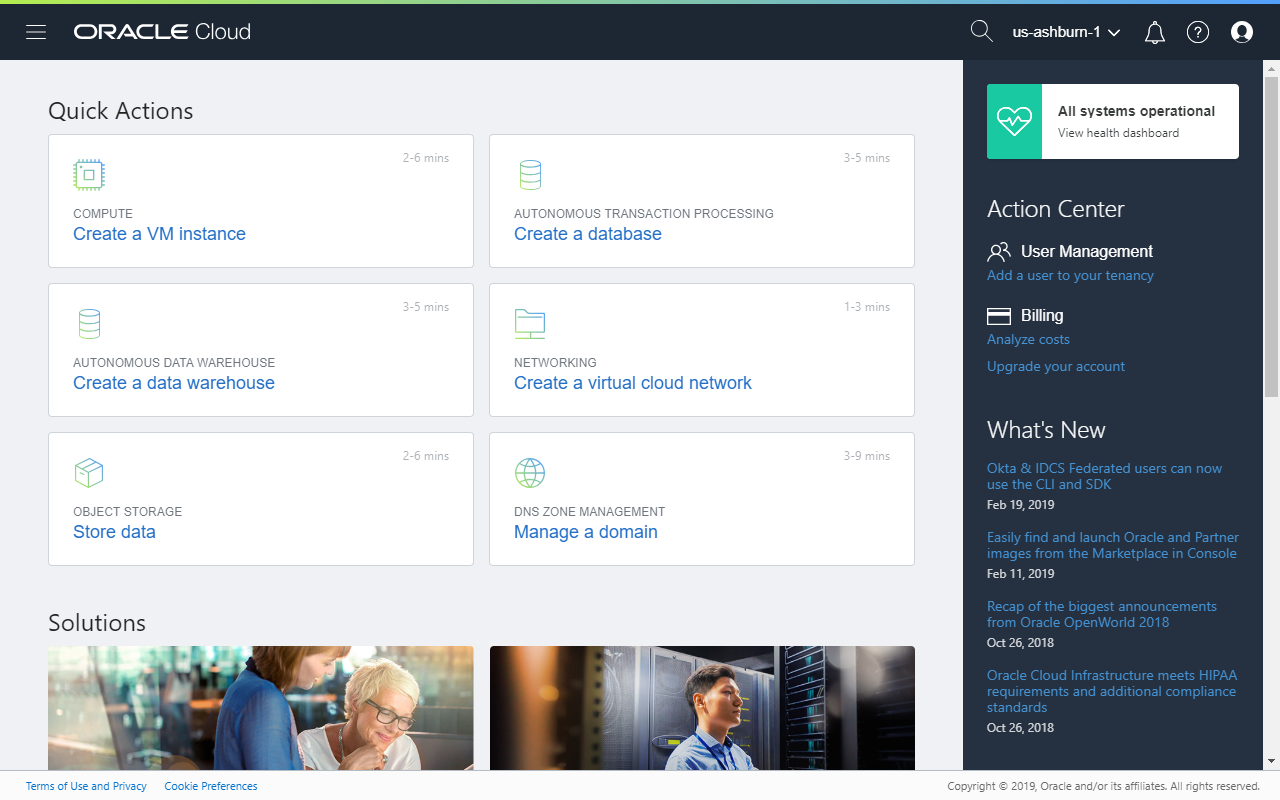
Think of the Oracle Cloud Infrastructure (OCI) as your server room in the cloud. With OCI, customers have access to the basic components needed for every server infrastructure and more! Besides virtual networks, firewalls, machines and storage, customers also have access to various specialty appliances and services. That includes autonomous database systems and container services. You can access the OCI console using a URL like https://console.us-ashburn-1.oraclecloud.com/?tenant=<MY_TENANT> where <MY_TENANT> is the name of your tenancy. Login with the Oracle Cloud credentials.
As an avid Oracle Application Express (APEX) fan, my main interest is always about setting up the components necessary to build my APEX Stack. On Day 2 of my trial, let's examine the shortest path needed to get the environment up and running.
Required Components
- Virtual Cloud Network (VCN)
- Subnet
- Internet Gateway
- Security Rules
- Virtual Machine
There are no usage costs for components 1 to 4, so I will create them in that order. All resources will be created physically in the Ashburn data centre (region).
Compartments
Compartments are a great way for partitioning your resources for various intents, e.g. billing, access control. There are again, no costs to create one, and for my environment, I have decided to create one per environment: DEV, TEST, PROD.
- Click Identity Compartments
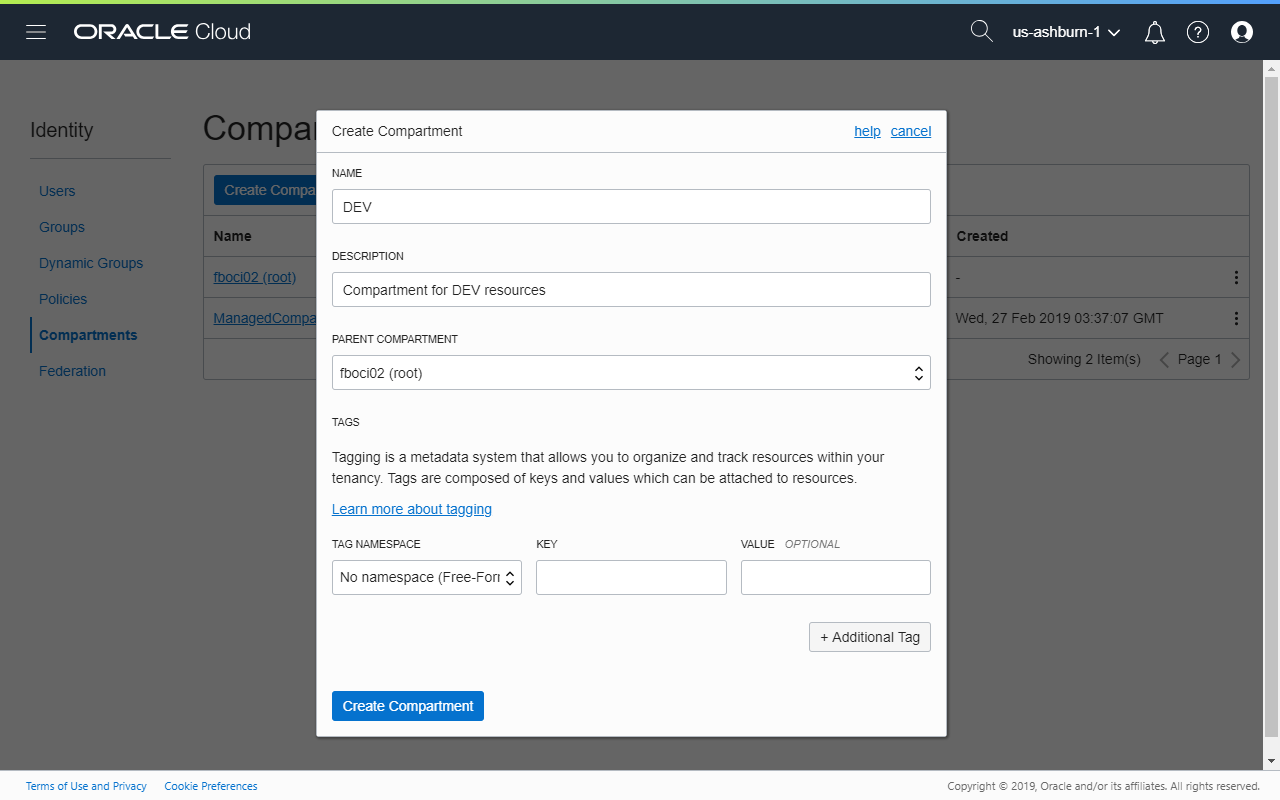
- On the Compartments page, I have two compartments already created. I will create a DEV compartment under the tenancy's root compartment. Click Create Compartment and then enter a name and description for the compartment. Choose <MY_TENANT> (root) for the parent compartment.
- Click Create Compartment
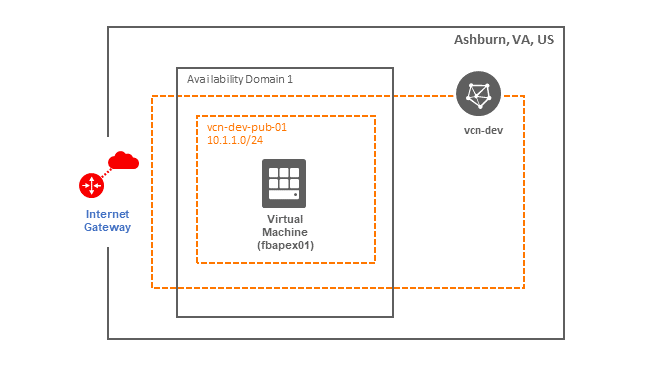
Network
All resources will need to live within a VCN. It encapsulates the subnets, gateways
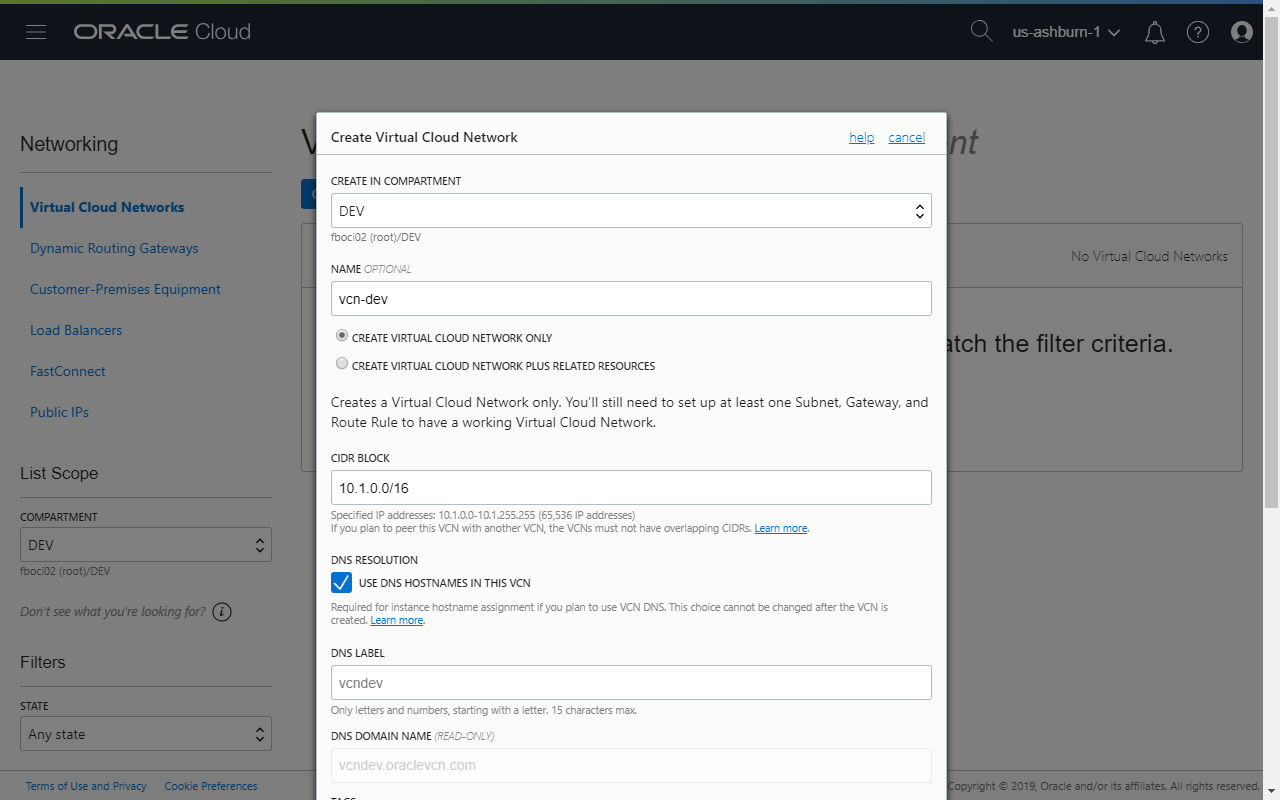
- Click Networking Virtual Cloud Networks
- On the Virtual Cloud Networks page, click Create Virtual Cloud Network. Select the target compartment and enter a name if necessary. Provide the network range (CIDR BLOCK) for this subnet, e.g.
10.1.0.0/16. There online tools that can help determine what the IPv4 range for a CIDR block. - Click Create Virtual Cloud Network
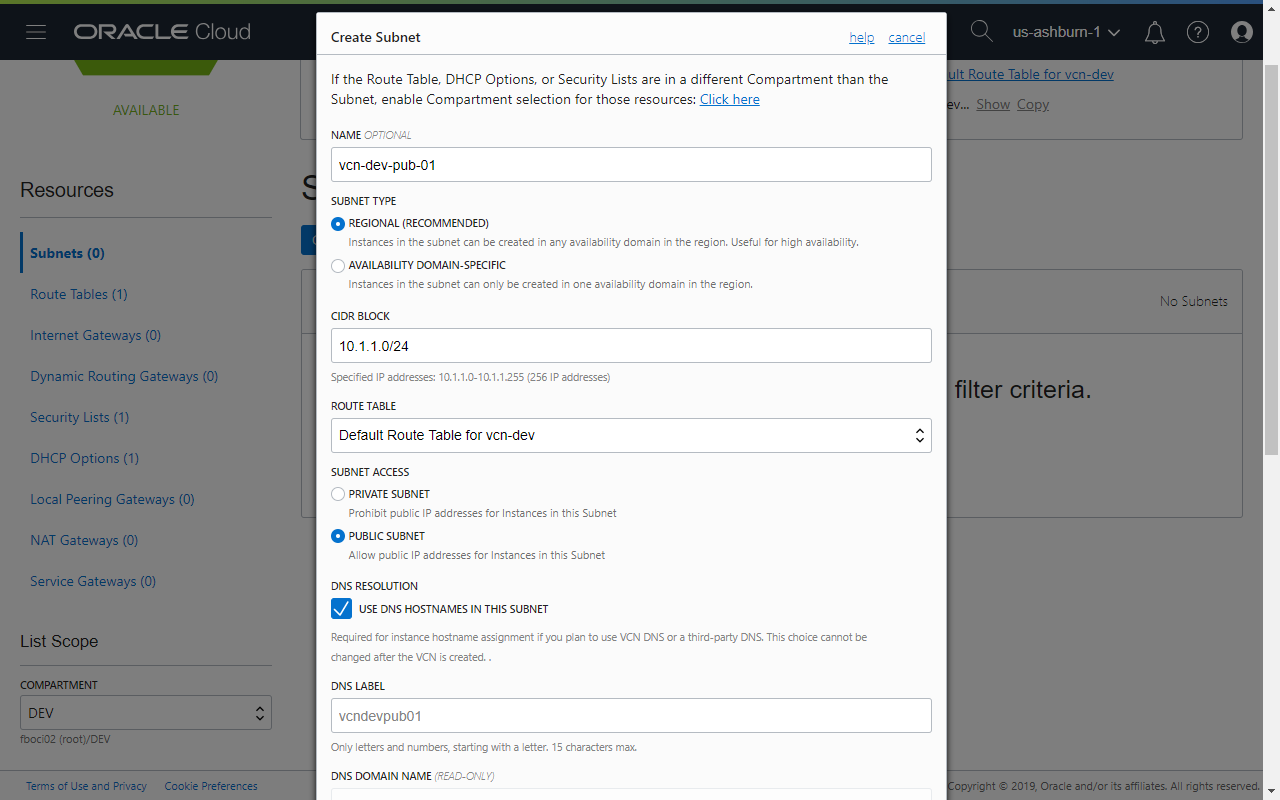
- Next, create a public subnet. On the VCN Details page, check that the correct compartment is selected (on the left side of the page), then click Create Subnet. Enter a name if required, and set the following values:
- SUBNET TYPE: REGIONAL
- CIDR BLOCK: 10.1.1.0/24 (or whatever CIDR block you choose)
- ROUTE TABLE: Default Route Table for vcn-dev
- SUBNET ACCESS: PUBLIC SUBNET
- Security Lists: Default Security List for vcn-dev
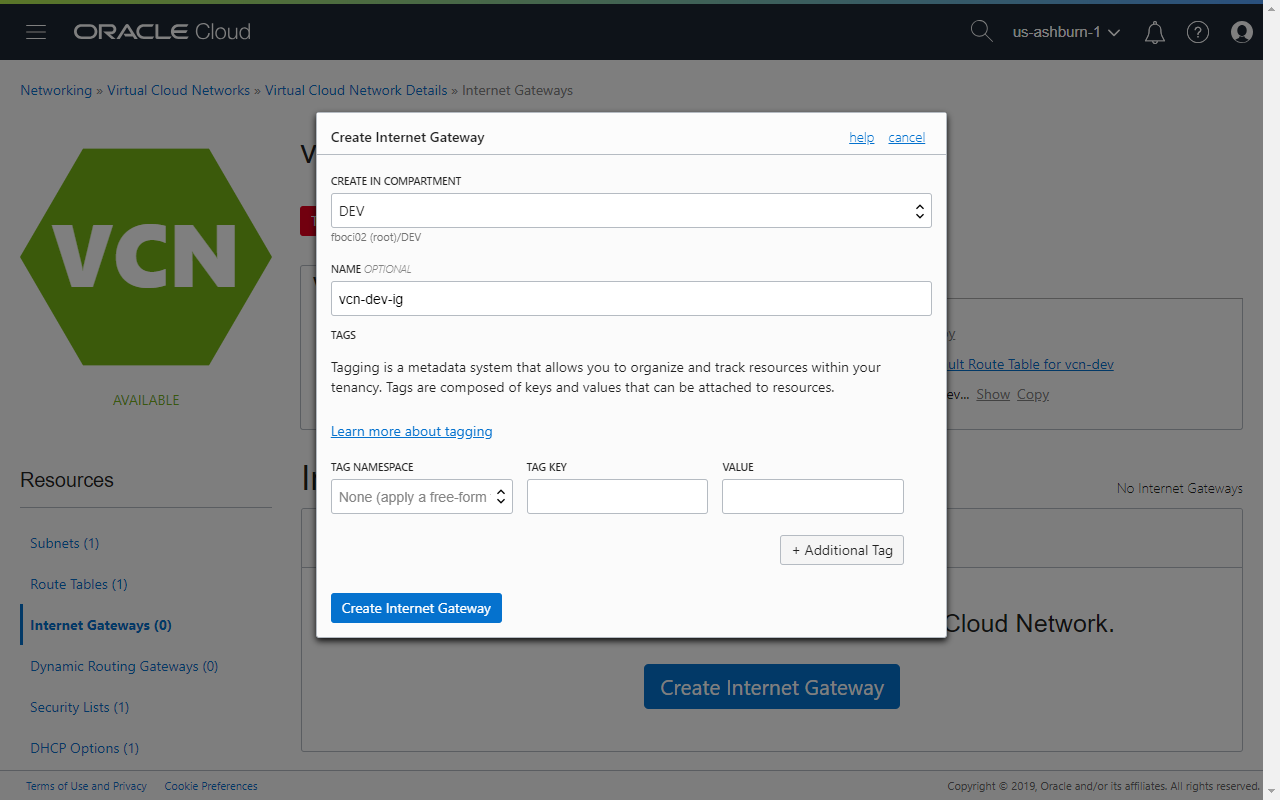
- Back on the VCN Details page, click Internet Gateways on the left.
- On the Internet Gateways page, click Create Internet Gateway.
- Enter a name if required and then click Create Internet Gateway.
- On the left again, click Route Tables and then on the Route Tables page, click on the default route table.
- Click Edit Route Rules and then enter the following in the dialog:
- TARGET TYPE: Internet Gateway
- DESTINATION CIDR BLOCK: 0.0.0.0/0
- COMPARTMENT: Select the desired compartment
- TARGET INTERNET GATEWAY: Select the Internet Gateway created earlier
Compute Instance - Virtual Machine
- Click Compute Instances
- On the Instances page, click Create Instance.
- Provide the following information:
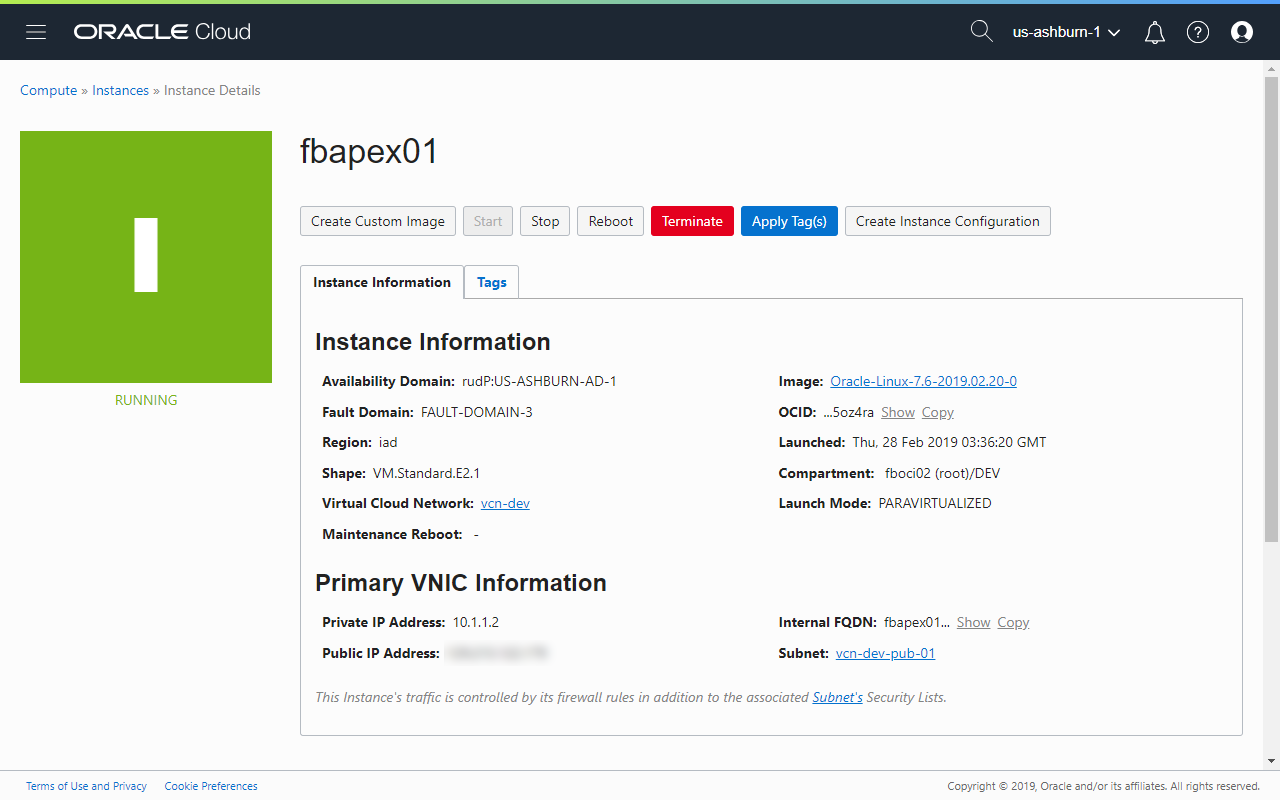
- Name: e.g. fbapex01
- Availability Domain: AD 1
- Operating System: Oracle Linux 7.6 (other options include Ubuntu, CentOS and Windows Server)
- Instance Type: Virtual Machine
- Shape: VM.Standard.E2.1
- Boot Volume: leave the defaults
- Add SSH Key: Either submit the public key file or paste the SSH key
- VCN: Select the desired compartment and VCN
- Subnet: Select the desired compartment and subnet

Compute Instances are sold in "Shapes". Resources provided by the various shapes are documented here. Availability is dependent on region. In Ashburn, the new (cheaper) AMD-based shapes are available. I had selected VM.Standard.E2.1 that provides 1 OCPU (2 vCPUs), a generous 8 GB of memory and ~50 GB storage!
Accessing the Server
The server can be accessed via the public IP address. All instances are created with the user opc. Use the private key that generated the SSH public key provided when the instance was created. The opc user is on the sudoers list and can be used to perform system administration tasks on the server.
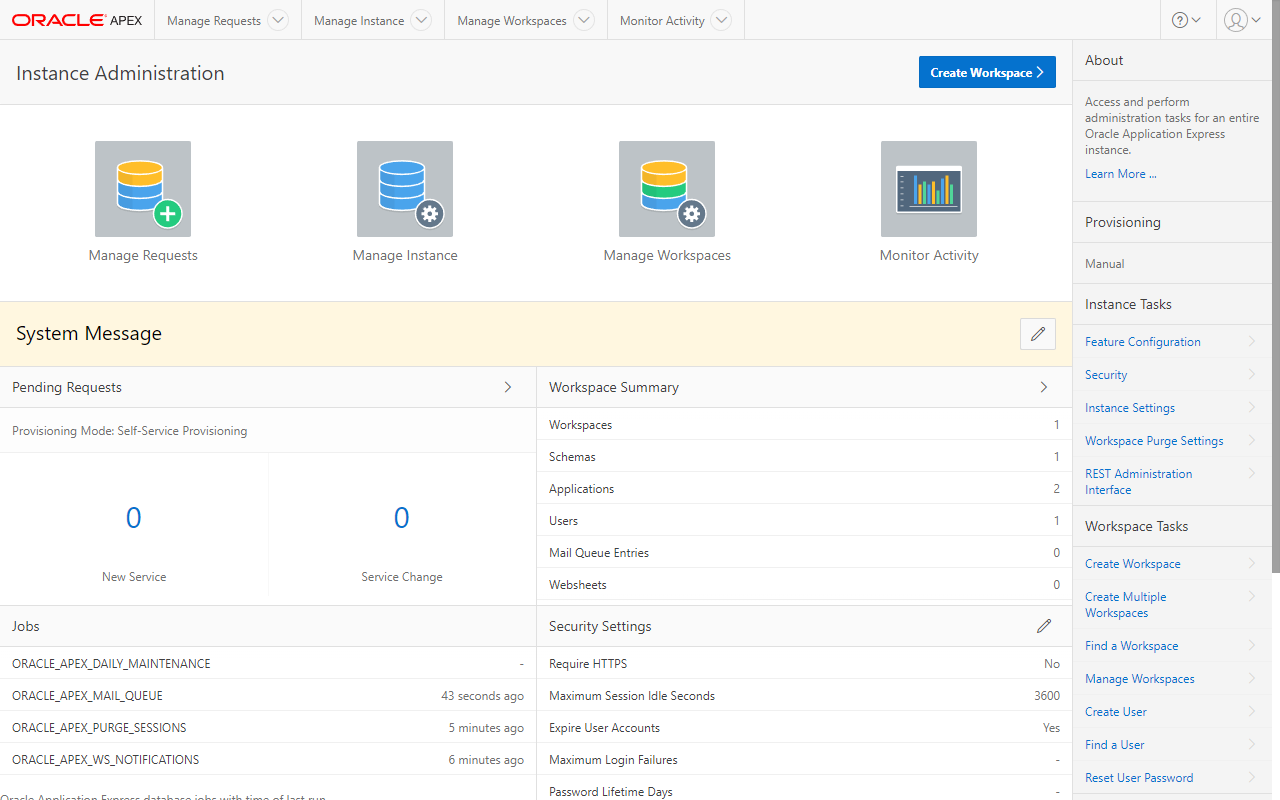
I struggled a little bit getting my APEX stack up and running but was eventually able to get it running with the helper scripts I had shared in an earlier post.
Summary
3. What do I need to do to create an Oracle Application Express (APEX) stack?
This article provides a list of tasks needed to spin up a VM that could then be used to create an APEX stack powered by the free Oracle Database 18c Express Edition. Compared to other hosting platforms like DigitalOcean and Linode, the setup process feels like an overkill. However, the OCI was designed for larger goals and this is merely a starting point for me. In the coming days, I will explore other services that OCI provides for creating "enterprise-grade" IT environments including the much talk about Database Systems.
Stay tuned!