APEX and the Affordable Cloud!


Love Oracle Application Express (APEX), but having trouble finding a decent, affordable home for your killer application? Here's one option you can consider that should not burn your wallet.
Before We Begin
The following guide assumes the following:
- Vagrant installed. The version I used for this article was 1.9.2.
- OXAR cloned.
- Installation files required by OXAR have been downloaded and made available as a web resource. One option is to upload the files to Dropbox and then create a shared link.
- The
config.propertiesfiles is customized to requirements. The file URLs should point to the relevant installation files as per OXAR instructions. - SSH keys generated. If not execute the command:
ssh-keygen. - All commands are executed from the project's root directory.
OS Support
At this time, I have only been able to demonstrate the remote build using Linux, though I believe Mac users should not have any problems doing the same. I will update or write a new post when I am able to accomplish the same tasks in Windows.
Linode
Sign up for an account with Linode. The smallest-sized Linode that you can create has sufficient resources to get a basic OXAR node running. Available to you at an affordable monthly fee of USD 5, it's probably as good as it gets!
Install the Linode Provider Plugin
Execute:
vagrant plugin install vagrant-linode
Prepare the Vagrantfile
Synced Folders
Force Vagrant to sync files using rsync, otherwise Vagrant might attempt to use NFS and the process will most likely fail as it did for me initially.
  config.vm.synced_folder ".", "/vagrant", type: "rsync"
    , rsync__exclude: [".git/", ".vagrant/"]
Configure the Linode Provider
Add the Linode provider block:
config.vm.provider :linode do |provider, override|
  override.ssh.private_key_path = '~/.ssh/id_rsa'

  provider.api_key = '<LINODE API KEY>'
  provider.label = '<LABEL FOR LINODE>'
  provider.distribution = 'CentOS 7'
  provider.datacenter = '<DATACENTER>'
  provider.planid = <PLAN ID>
end
A list of valid Plan IDs and data centers can be obtained from the Linode Vagrant Provider plugin documentation. Note that Plan ID is probably enough for a start.
Set the Timezone
During my first build, I encountered issues with ORDS not installing correctly because Java was not able to recognize the system's timezone correctly, similar to what had previously been reported.
The Centos 7 image provisioned by Linode has the timezone set to UTC and that seems to be problem. The workaround for me was to set the timezone prior to calling OXAR's build.sh script. This is done towards the end of the Vagrantfile, within the SHELL sub-section. Probably something that we should consider adding to the main OXAR build process.
    ...

    rsync -rtv --exclude='files' --exclude='.*' /vagrant/ /tmp/vagrant-deploy

    cd /tmp/vagrant-deploy

    # Set the timezone
    timedatectl set-timezone America/Vancouver

    ./build.sh
  SHELL
end
To get a list of valid timezones, execute the command timedatectl list-timezones on a similar Centos 7 instance.
Linode API Key
Login to your Linode account and then click on "my profile", found on the top-right corner of the page. Provide your password again when prompted. This will allow you access to the API Keys sub-page.
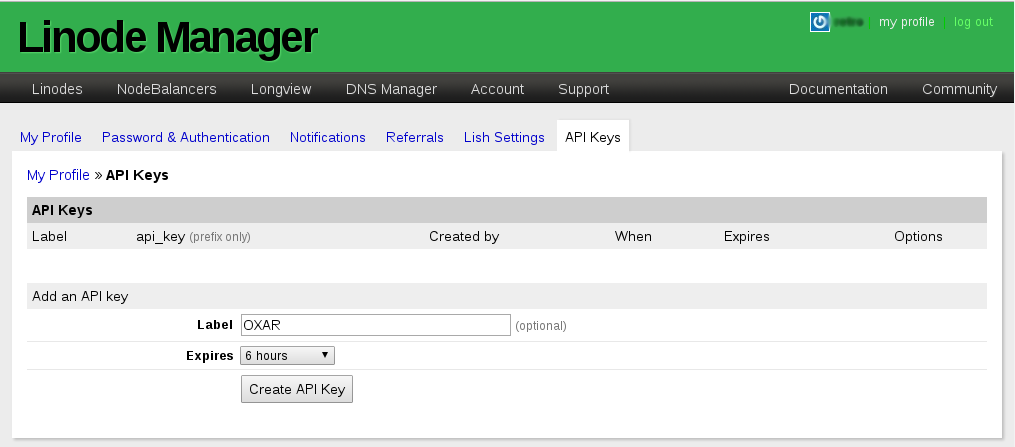
Create a new key. I strongly recommend using a suitable label and setting an expiry date for the generated key.
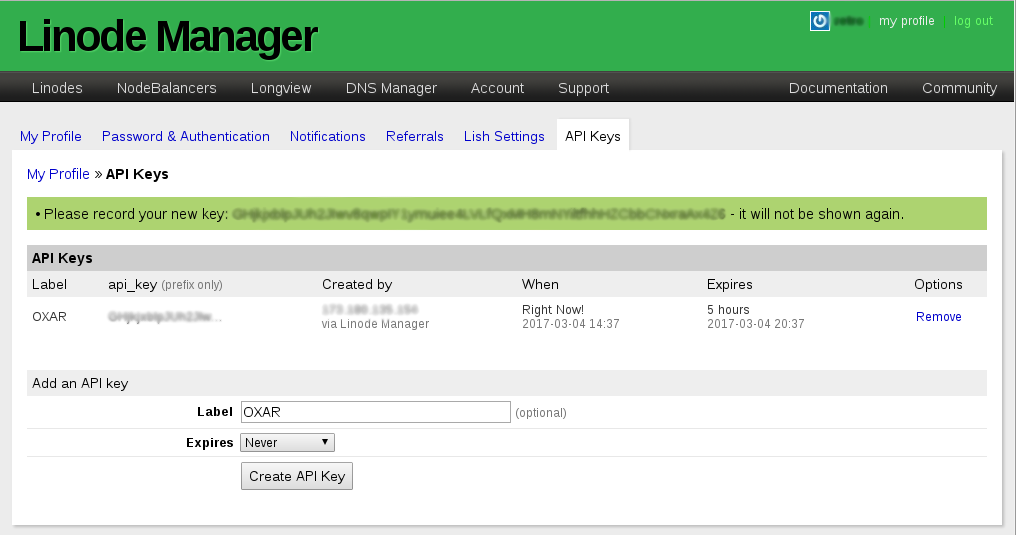
Copy and past the API key into the Vagrantfile. As warned, the key will only be displayed once!
Deploy
When you are ready, execute the command:
vagrant up --provider=linode
Sit back, wait for the OXAR system reboot countdown and then pop the champagne. Magic!
Thanks for reading!