Day 17 - 30 days on the Oracle Cloud


In case you missed it (which is almost impossible), the Oracle Autonomous Database (AutonomousDB) is Oracle's hottest offering on the Oracle Cloud and it now comes fitted with what is arguably the best feature of the Oracle Database: Oracle Application Express (APEX). I have a few more days to go with this trial, so why not take one out for a spin?
Create and Autonomous DB
Creating an Autonomous DB is easier than saying "ABC"!
- Login to the Oracle Cloud console.
- Click Autonomous Transaction Processing (or Autonomous Data Warehouse).
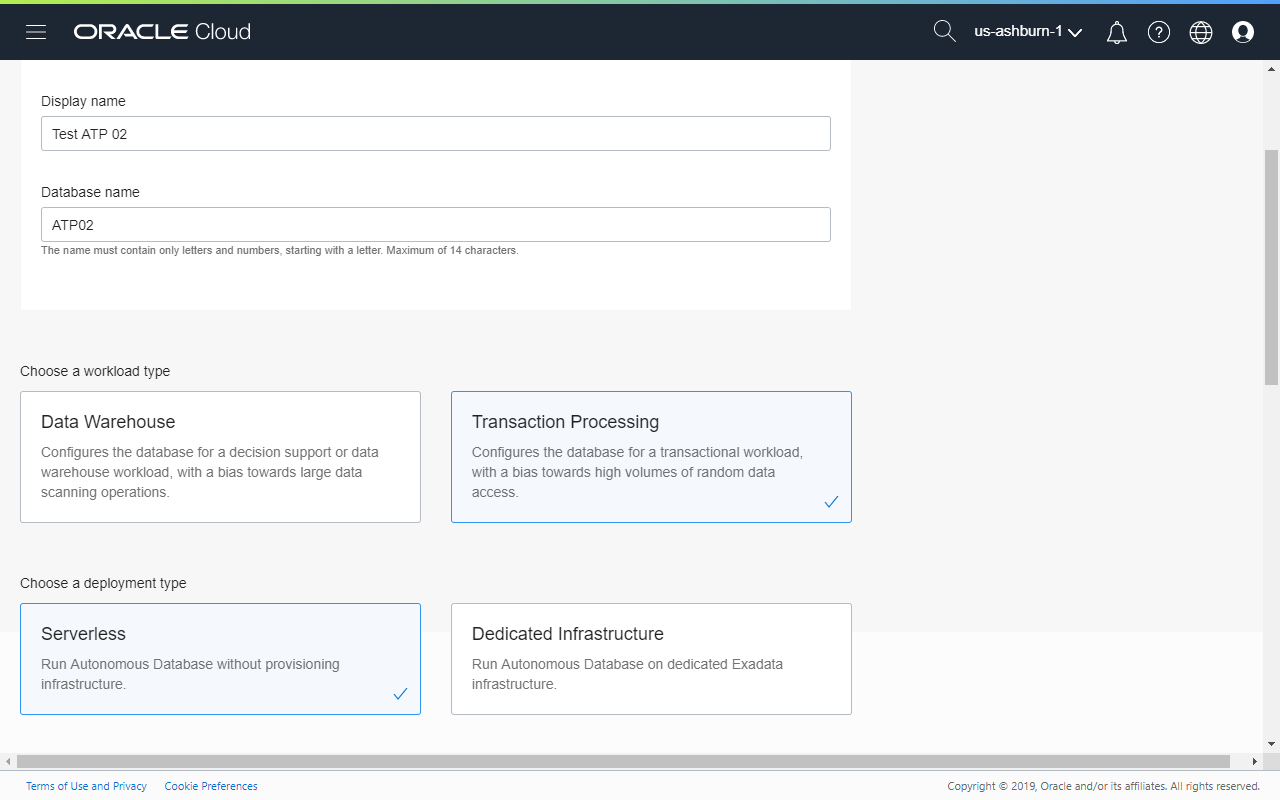
- Click "Create Autonomous Database" and provide the following details:
- Compartment to situate the ATP/ADW in.
- A display name
- A database name (this is important!)
- Choose a workload type, so pick between ADW or ATP depending on how you'd anticipate the database to be used.
- A deployment type, serverless (shared) or dedicated. Note that at the time of writing, serverless or ATP-S runs the database version 18c and auto indexing is not available. You'll need ATP-D (dedicated) to enjoy the benefits of auto indexing.
- Resources needed, CPU core count and storage size (the minimum 1 TB is really daunting).
- Select auto scaling if required.
- Enter the
ADMINuser's password twice, and then - Select the license type. Note that for trials, select either doesn't really matter. I have addressed this issue before, don't be fooled by the extraordinary low prices to run an autonomous DB. Use the cost estimator for more realistic numbers for budgeting.
Connecting to the Instance
Once the autonomous DB is alive and breathing, return to the details page. Click Autonomous Transaction Processing (or Autonomous Data Warehouse) and the select the target autonomous DB. On the details page, click "DB Connection".
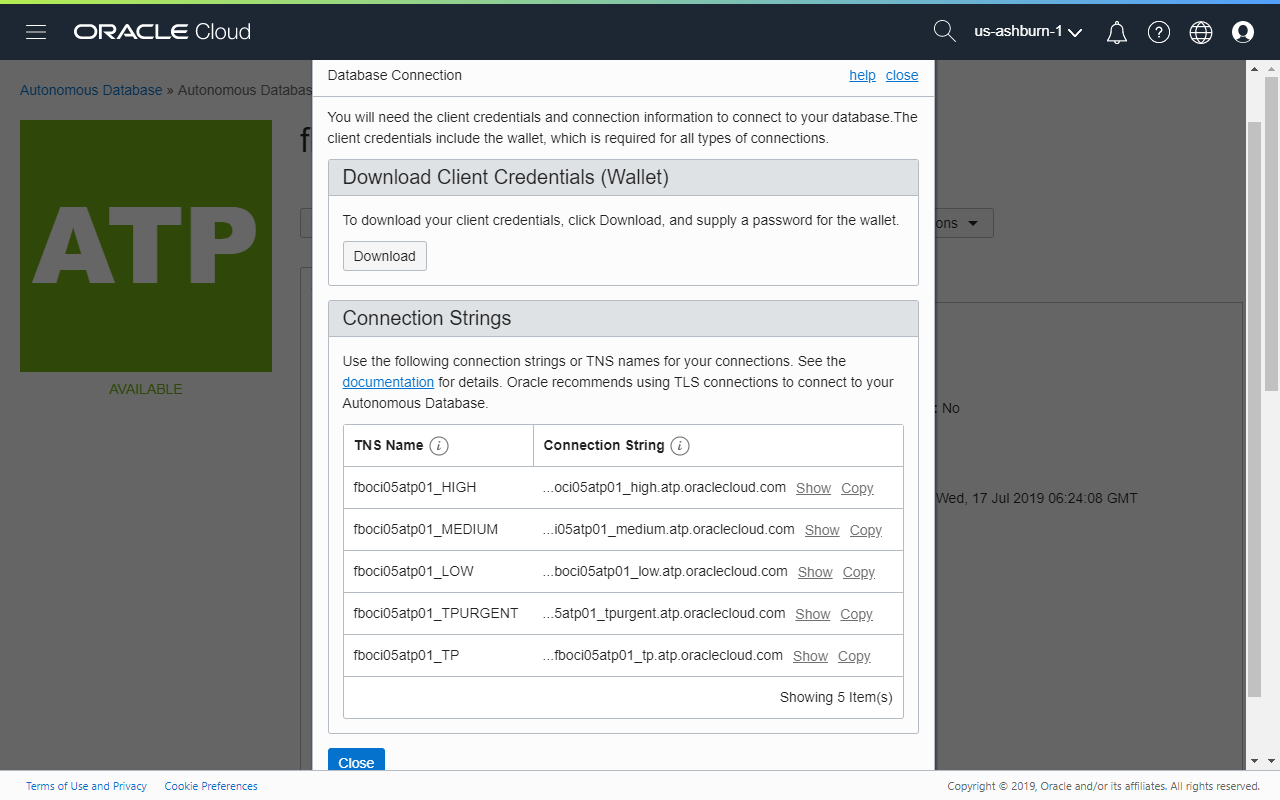
Here, click "Download" to grab the client credentials and wallet. You will need these for connecting to the database using SQL Developer and SQLcl. Also, take note of the connection strings as you will need them to connect to the DB with the required service level.
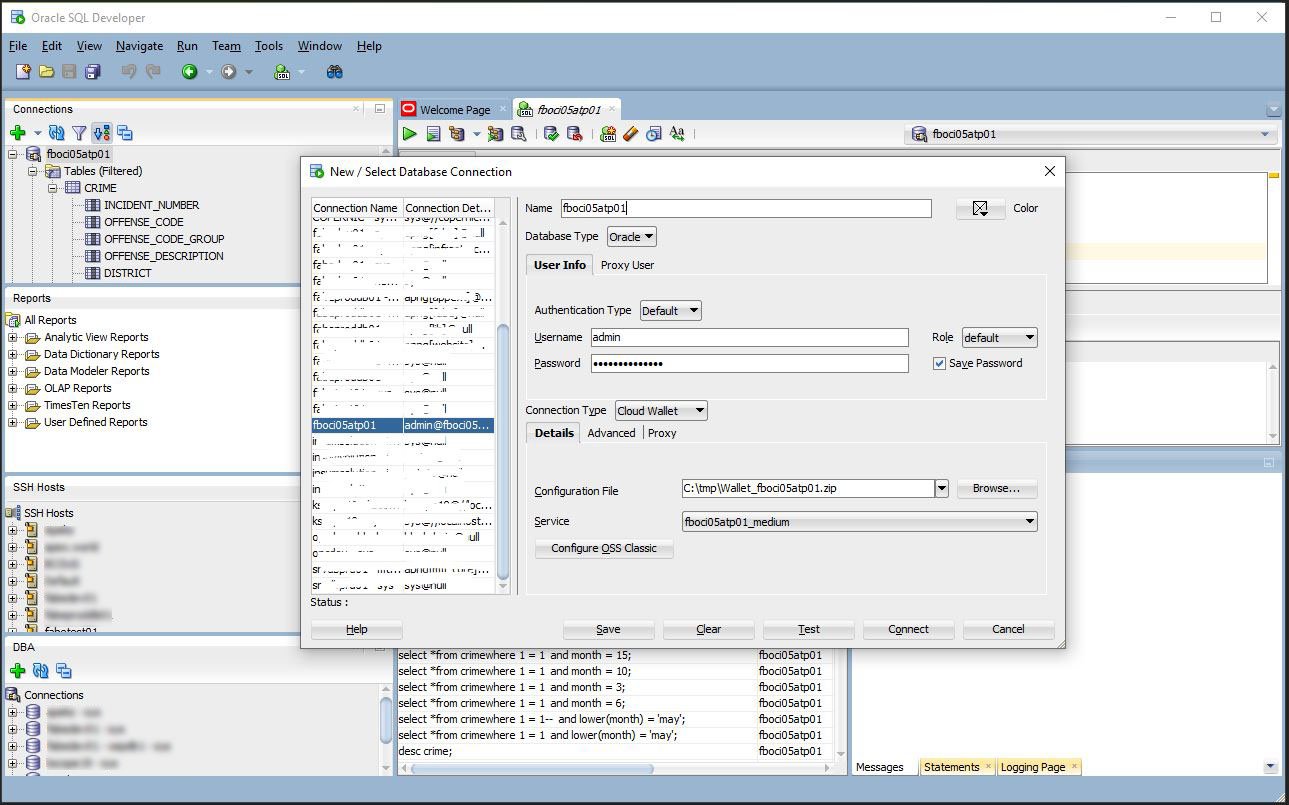
When creating a connection profile for the autonomous DB, select the Connection Type "Cloud Wallet". Then select the downloaded ZIP file for the Configuration File. Select the appropriate Service (TNS name).
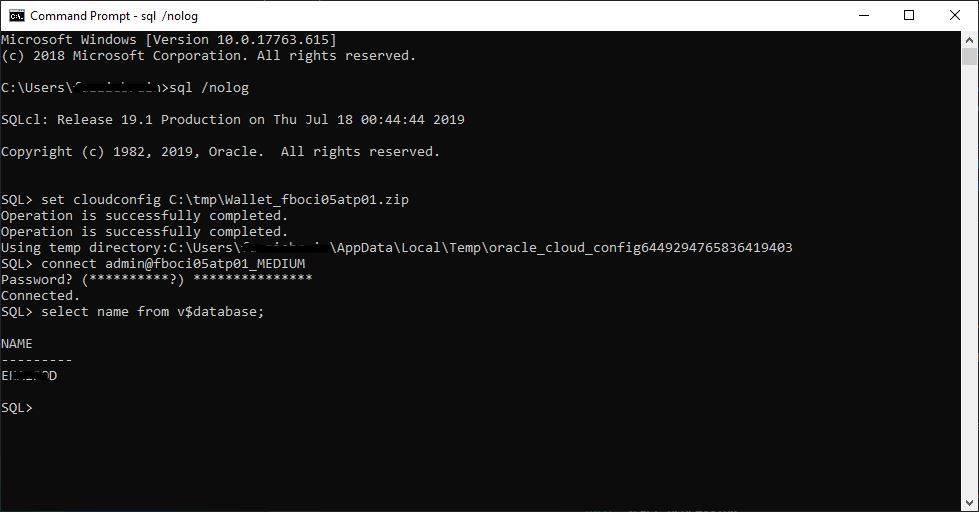
In SQLcl, select and load the Cloud Wallet using the command:
SQL> set cloud config /path/to/my/wallet_file.zip
Once the cloud wallet is loaded, connect to the DB as you would with any Oracle Database, providing the appropriate TNS Name to connect to.
What Makes It Cool?
IMHO, here are few good reasons:
- There's some cool old school Artificial Intelligence/Machine Learning techniques applied. It ain't just a marketing buzzword. Some of the algorithms used to put "auto" in "autonomous" are highlighted in Maria Colgan's Kscope19 session. If you are a full ODTUG member, you will have access to her presentation slide deck and hopefully a recording as well.
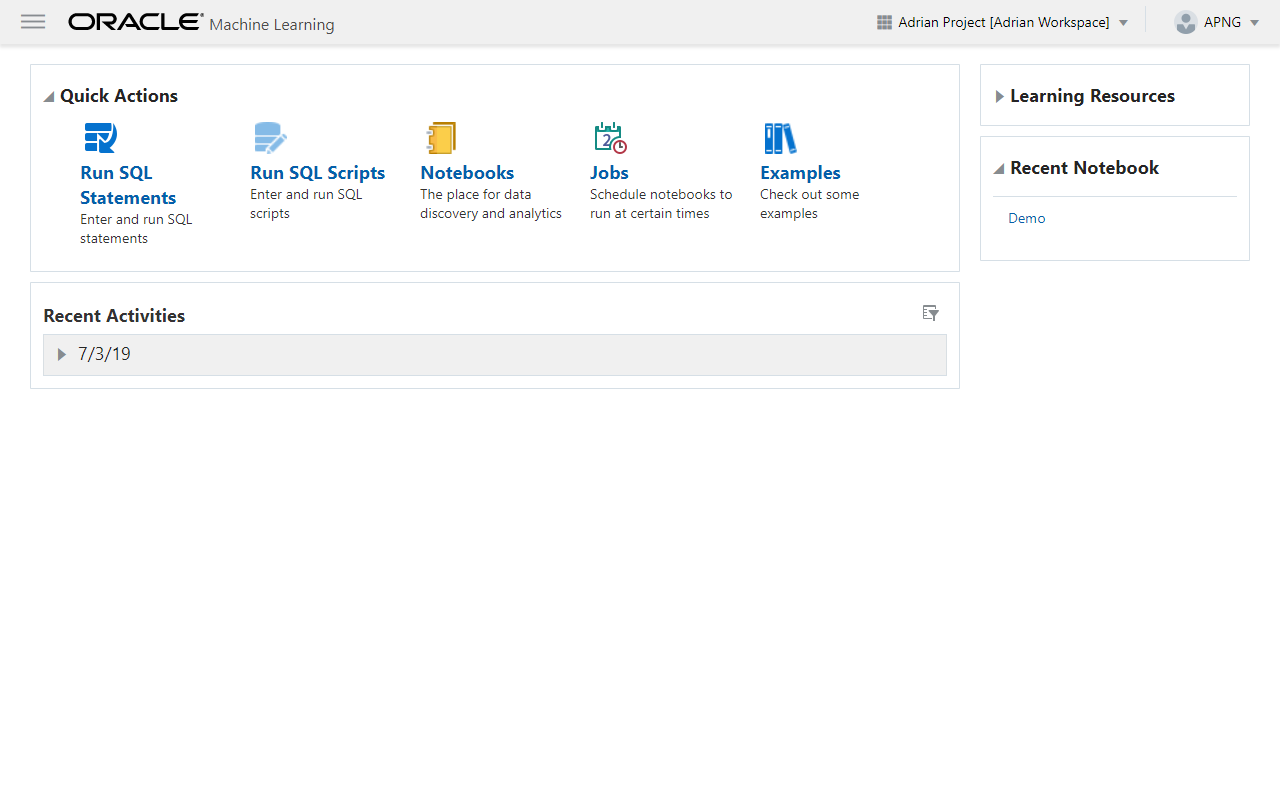
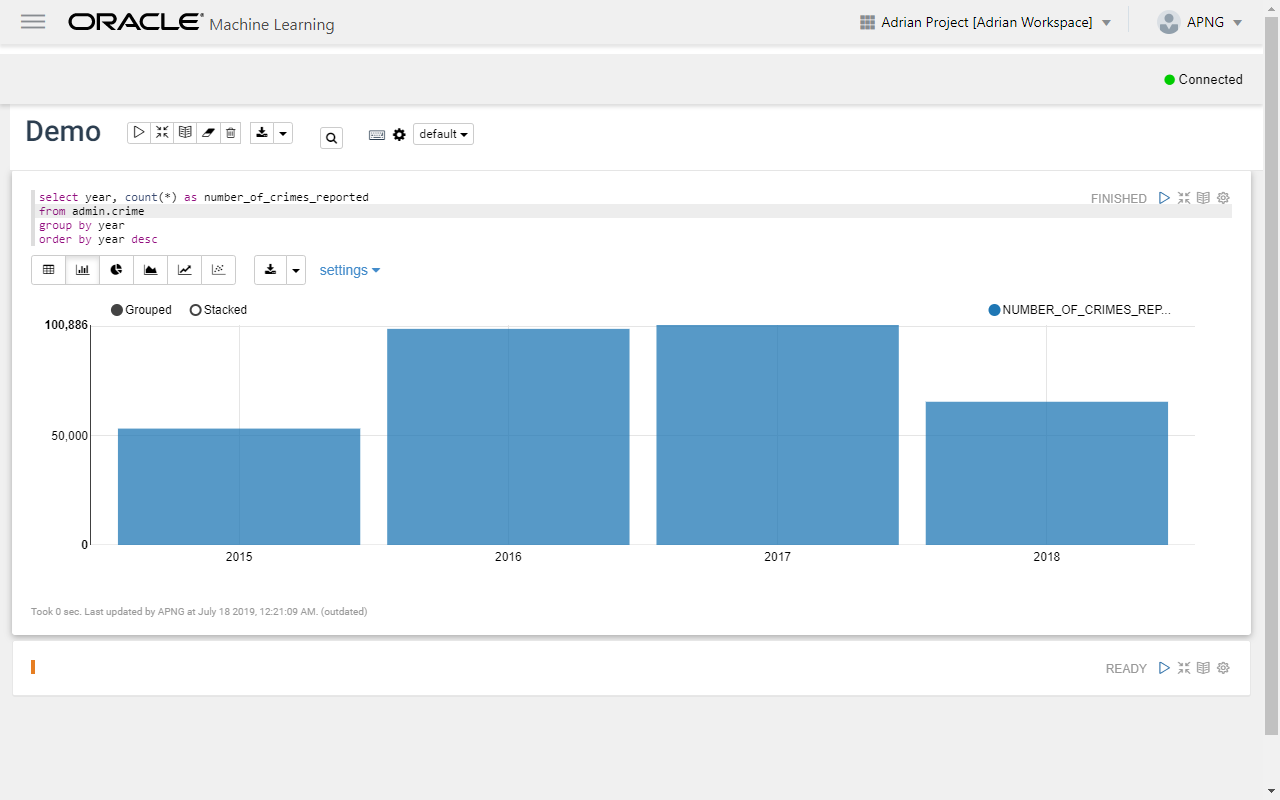
- Oracle Machine Learning Notebooks - if you have used Jupyter before, then you'll find the interface and purpose very familiar.
- APEX, enough said!
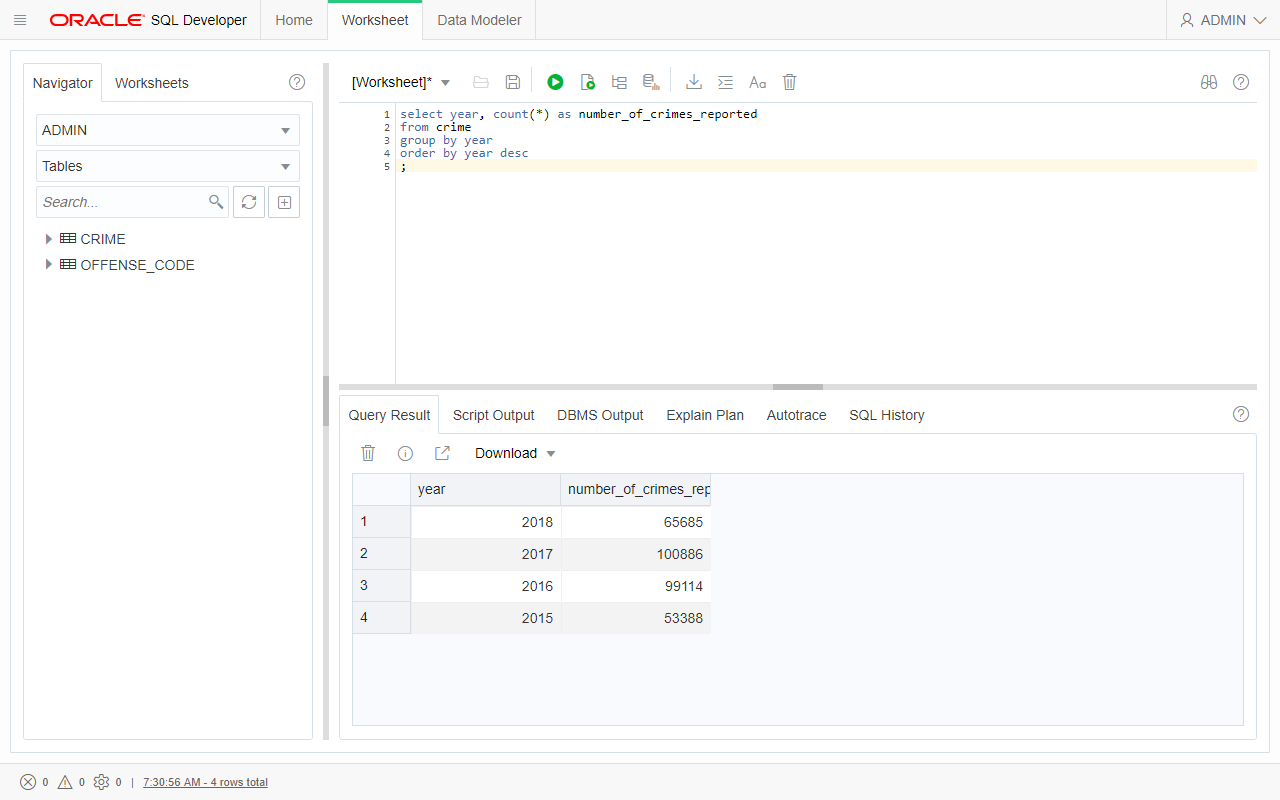
- SQL Developer Web - while we are going to see this available to install on premise in the near future, it doesn't hurt to get an early preview of how powerful a development platform we have with SQLDEV Web and APEX combined.
Not convinced? Get a trial account and check it out!
Photo Credits
Photo by Steve Jurvetson License: CC BY 2.0