Authenticate using OAuth2 - Now Available in APEX 5.2 EA

ICYMI, early access for Oracle Application Express was opened for workspace requests erlier this month. Like every other APEX fan out there, I was of course eager to get my hands dirty. Guess what was the first upcoming feature I took for a test drive?
You may have read my recent my blog post on using SAML2 for enabling single sign-on with cloud platforms like Microsoft Office 365 and Google G Suite. Well, this new authentication scheme available out of the box might just make the prescribed method obsolete. If you're interested to try it out yourself, here's an account of what I needed to do to enable Google sign-on. Hopefully it will provide you some guidance.
- The first thing you ought to do is to sign up for a Google account.
- Next, login to Google's Developers console.
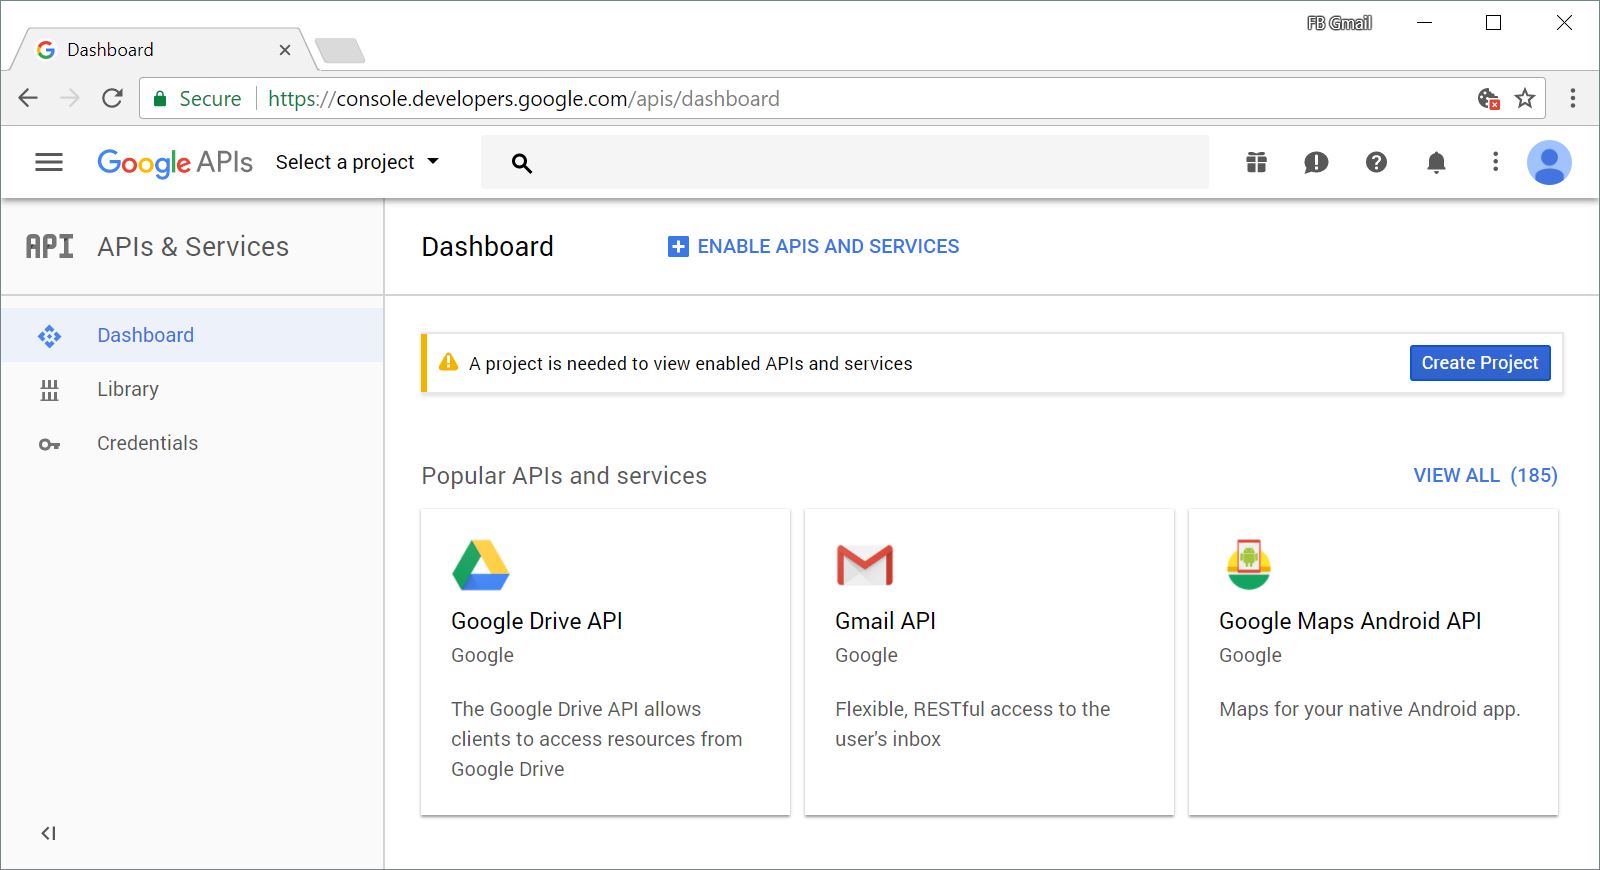
- Create a project in order to enable the APIs you need to perform the OAuth2 login process. Click
Create Project(see figure 1).
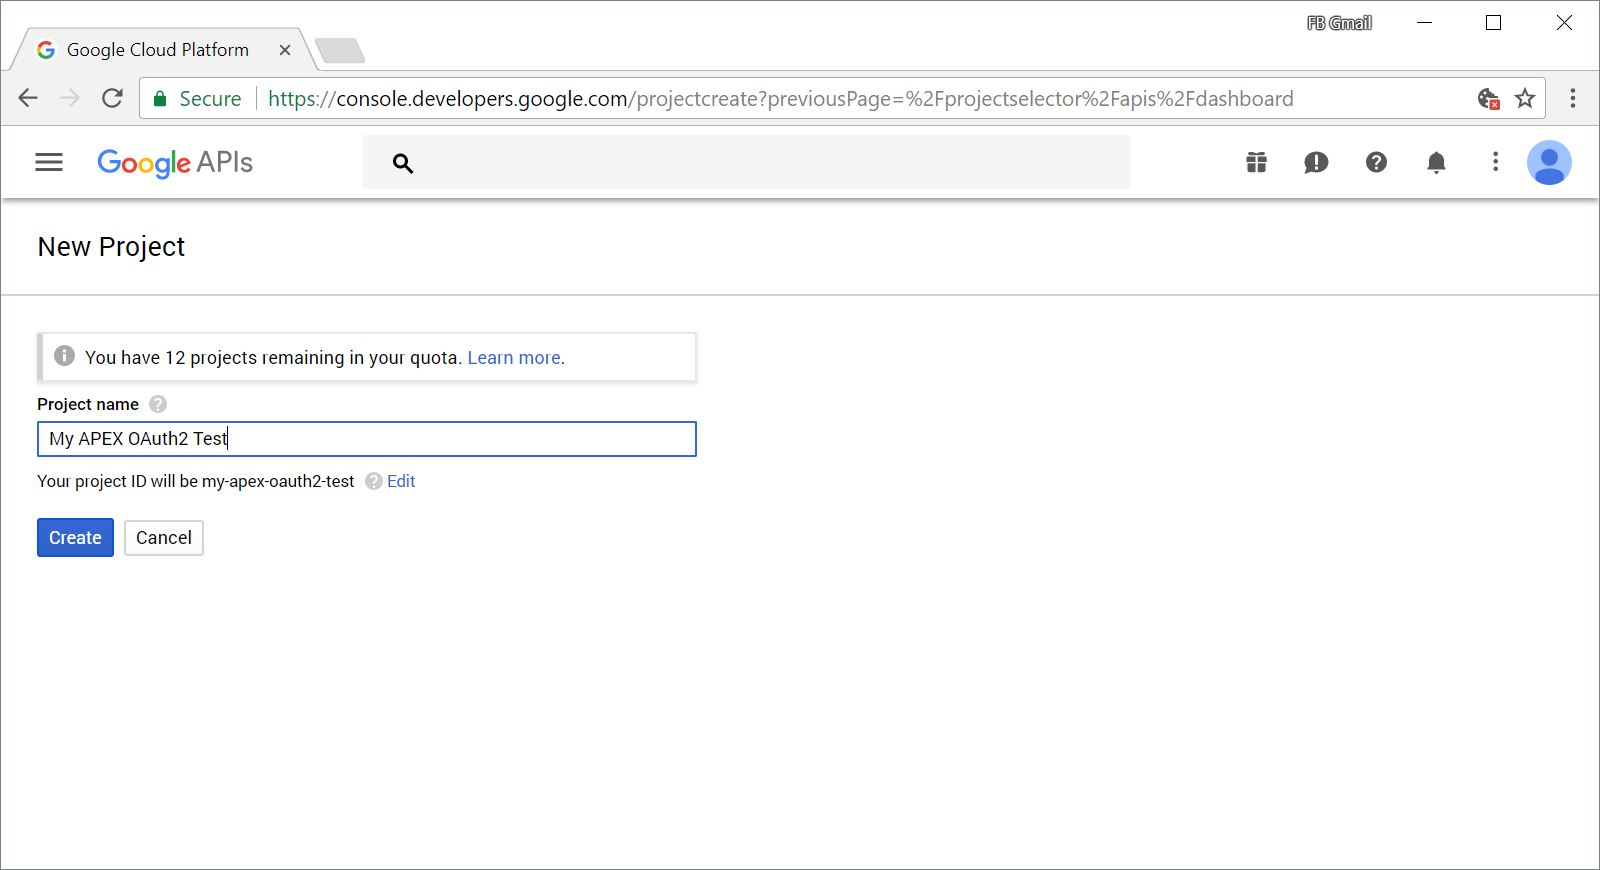
- Click
Create(see figure 2) to continue.

- Enter a project name and then click
Createto complete the process
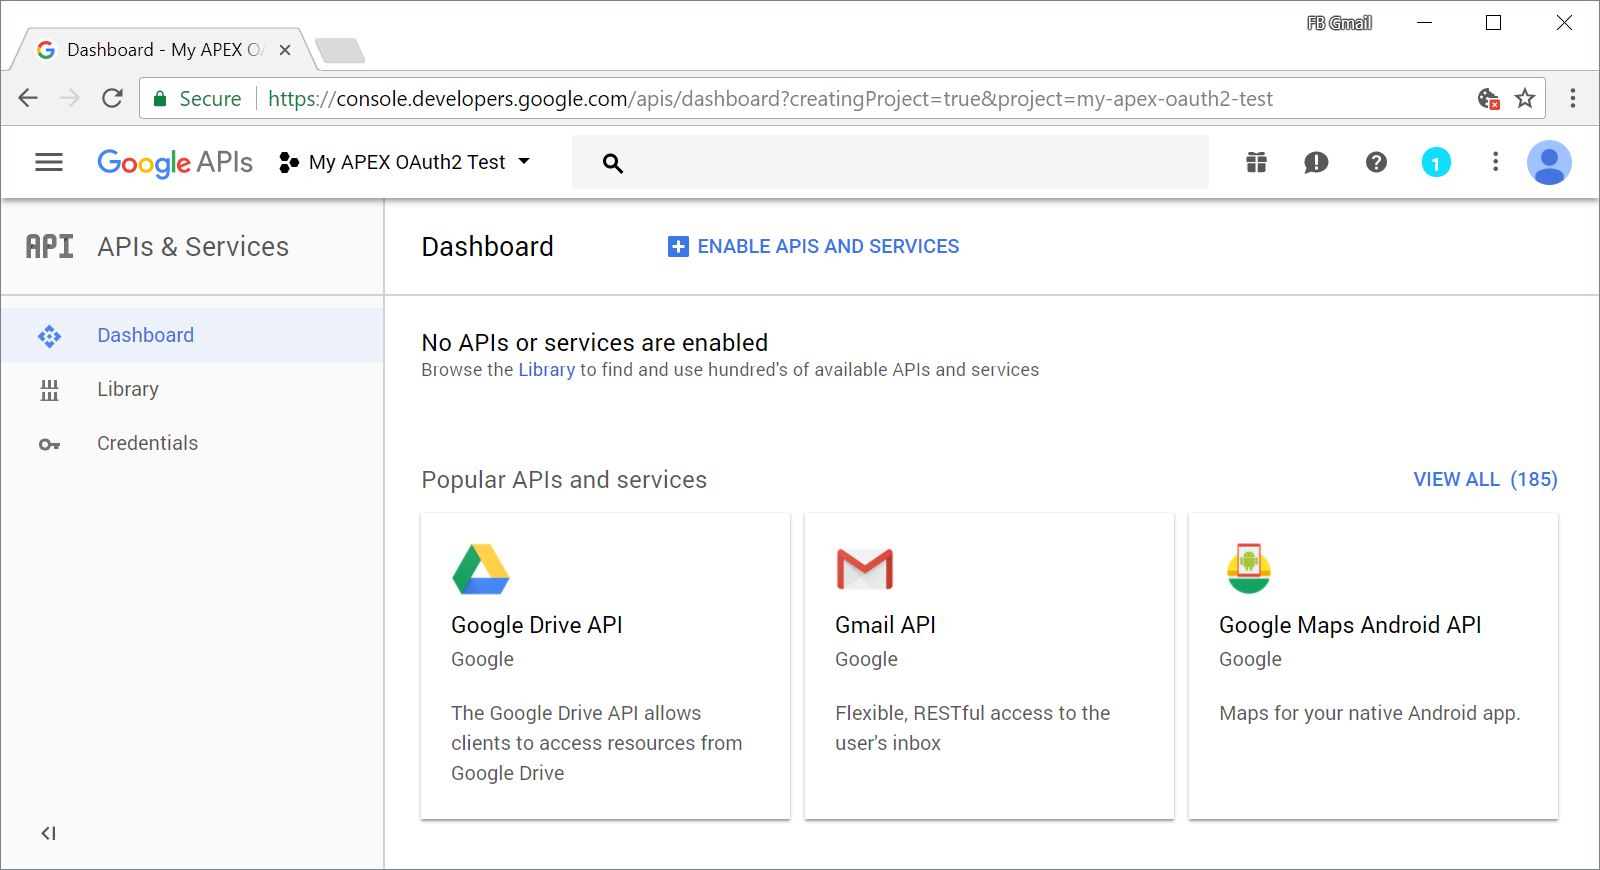
- Once the project is created, you will be returned to the console dashboard, and the new project should be selected automatically. You should see this at the top-left of the page, right next to the Google APIs page banner.
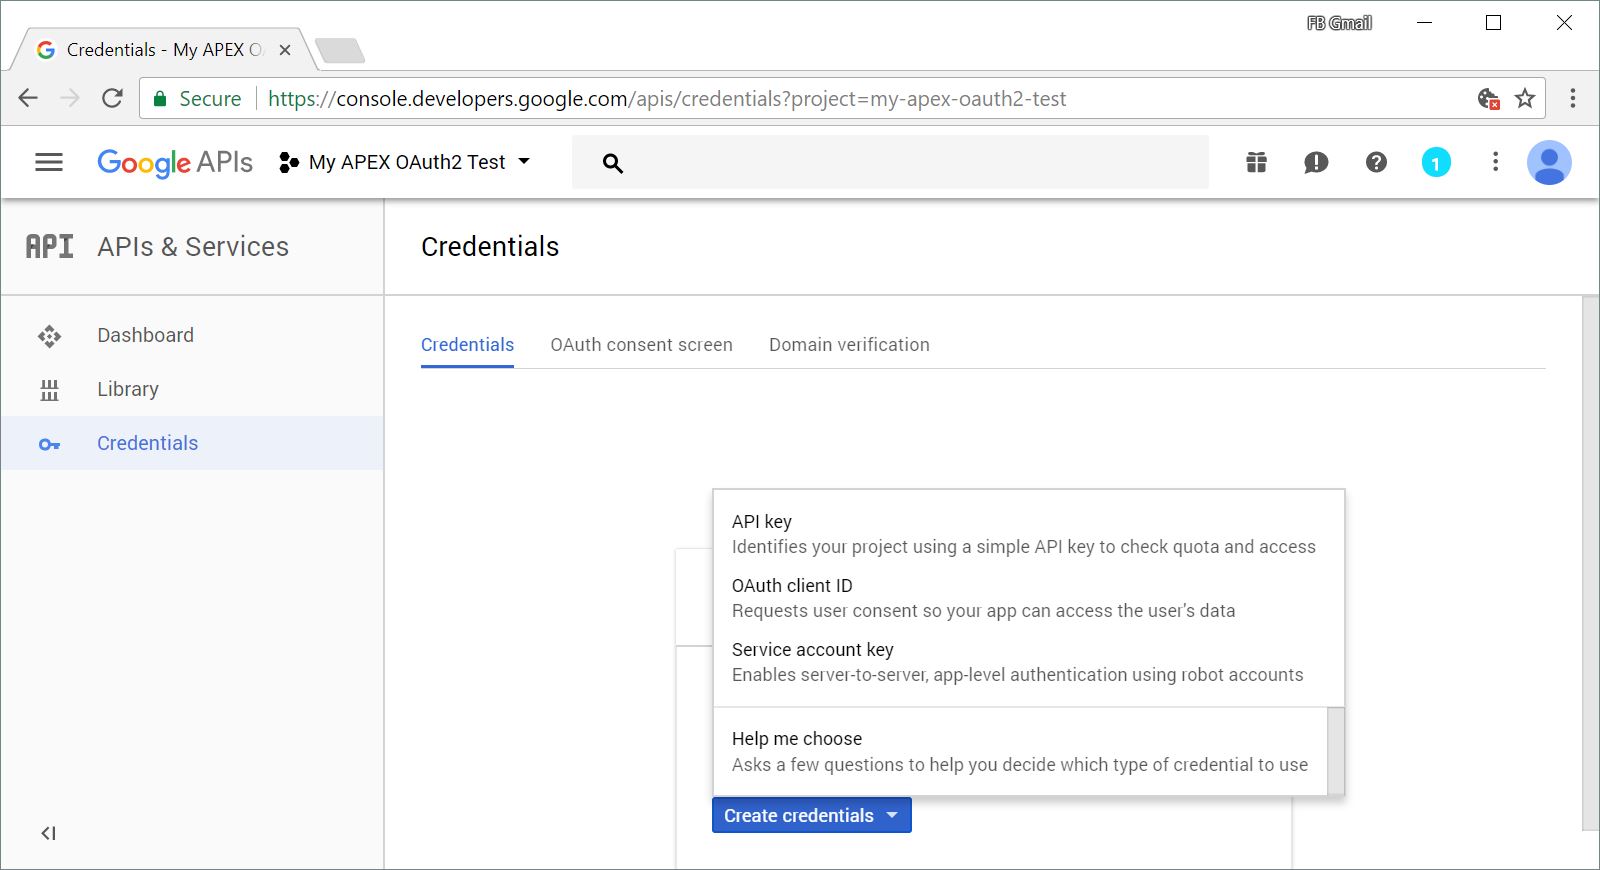
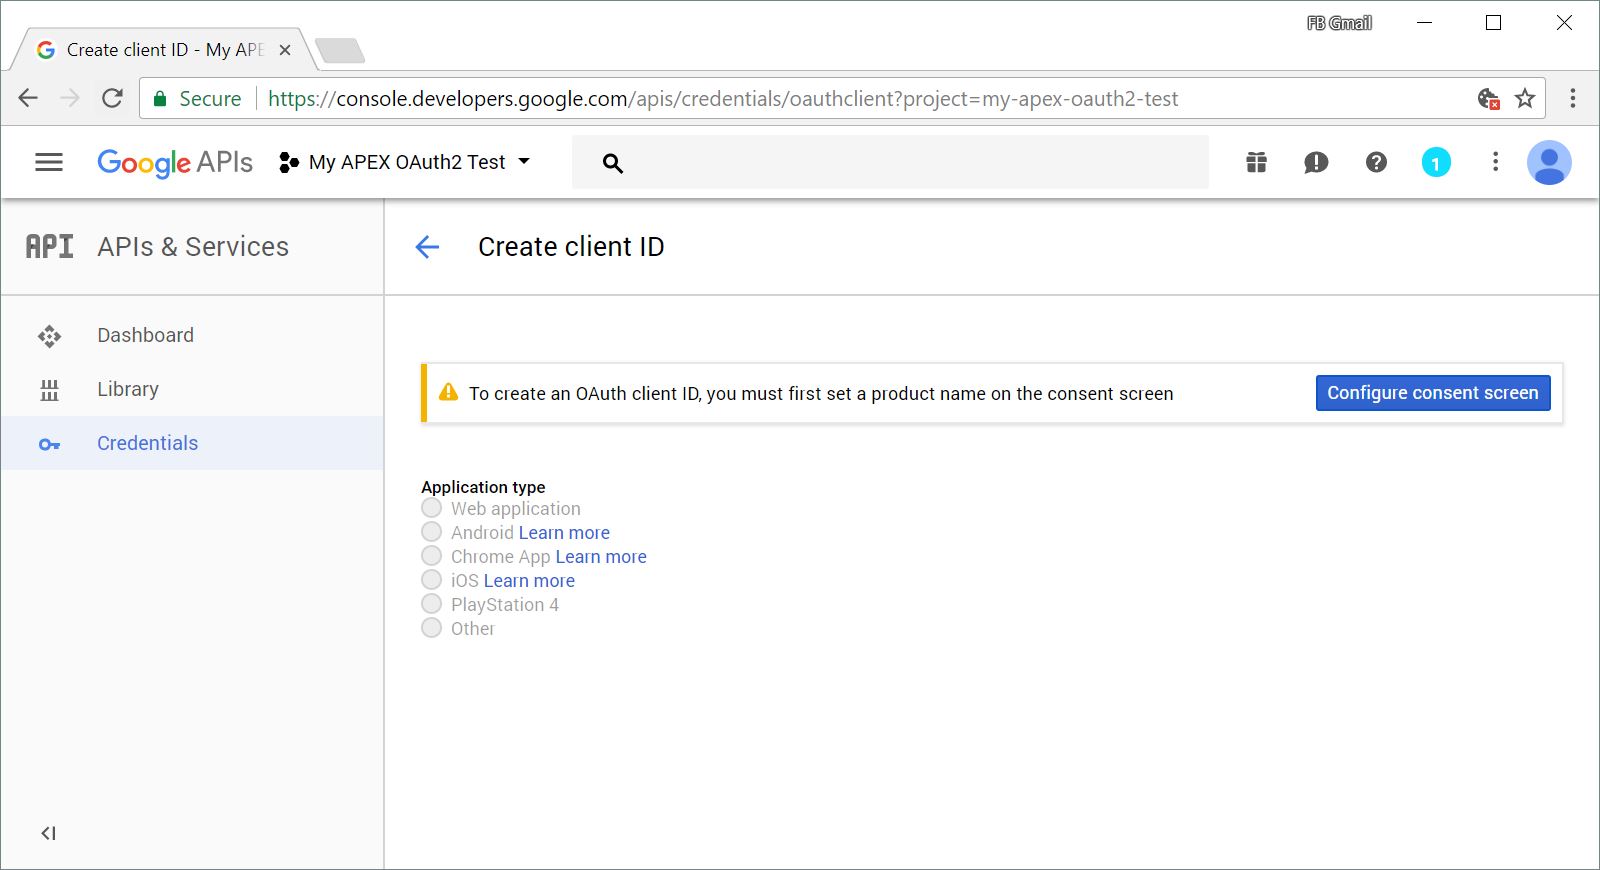
- Click the third link
Credentialsand then select to create anOAuth client IDcredential.
- Next, click
Configure consent screen.
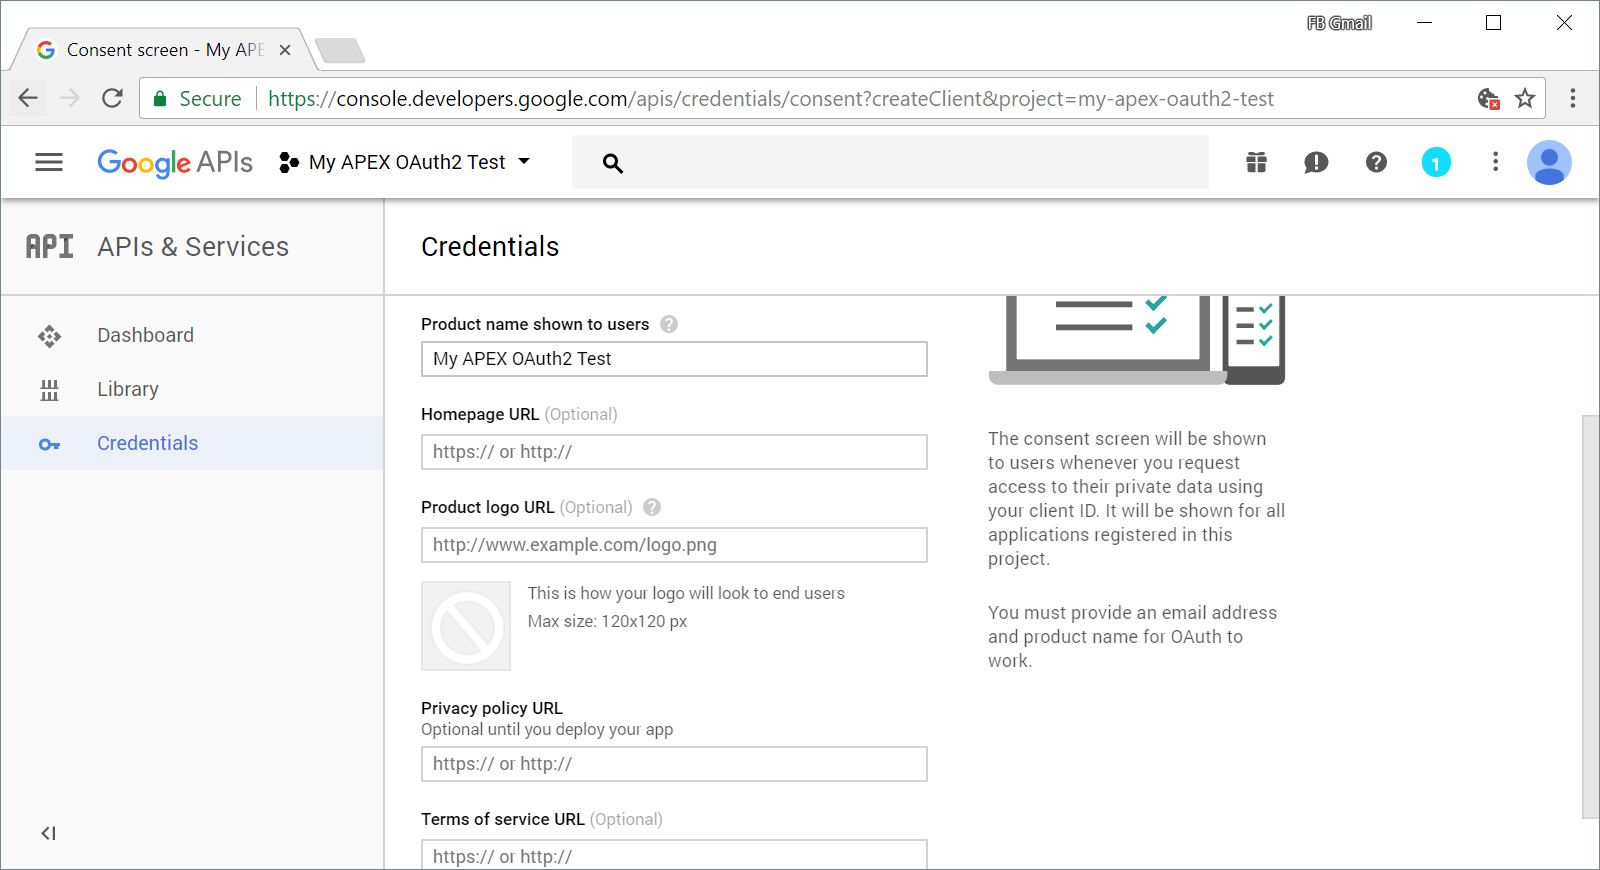
- Enter a product name and then click
Saveon the bottom of the page.
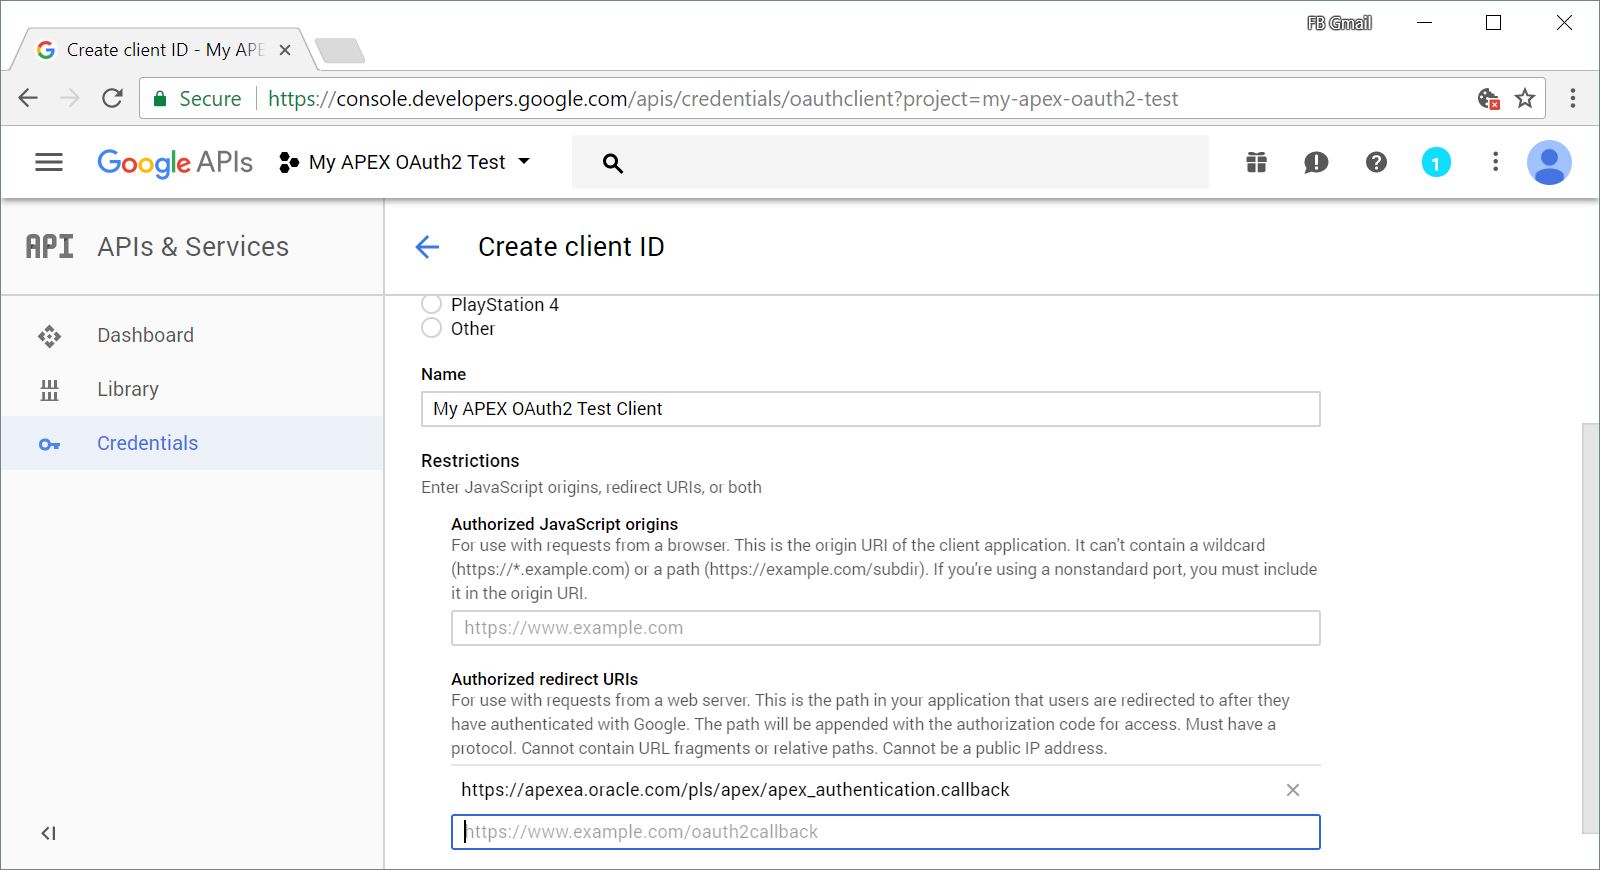
- When returned to the previous page, select
Web application. Additional fields will be displayed. - Enter the
Nameof the application and enterhttps://apexea.oracle.com/pls/apex/apex_authentication.callbackunder the list ofAuthorized redirect URIs. - Click
Create.
- Take note of the
client IDandclient secretand then clickOKto close the modal dialog. - Return to the APEX App Builder and create an application.
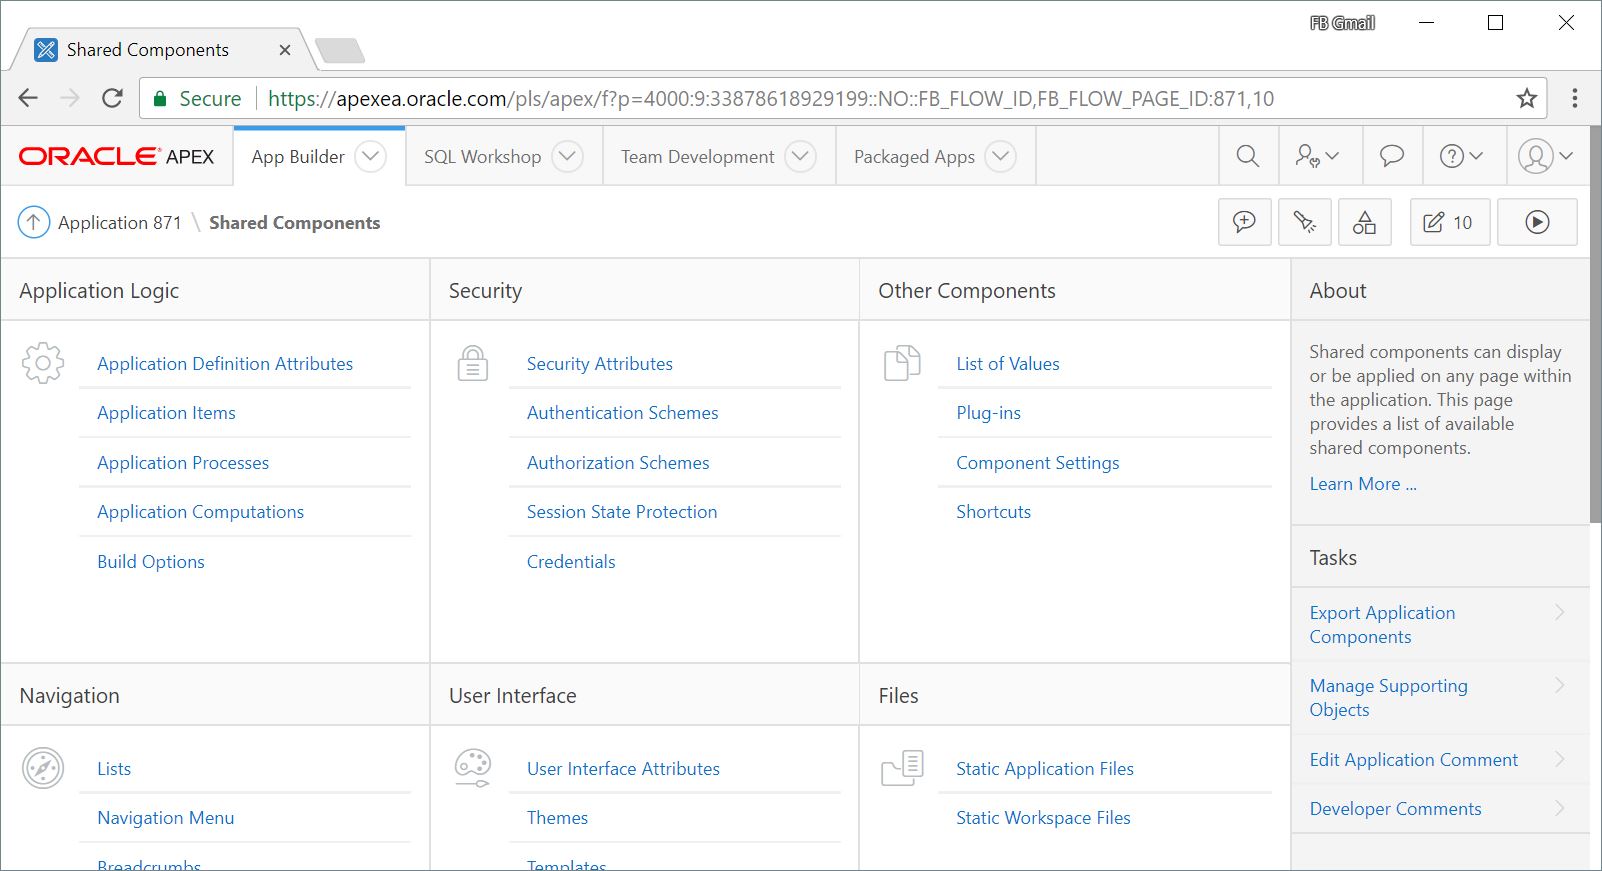
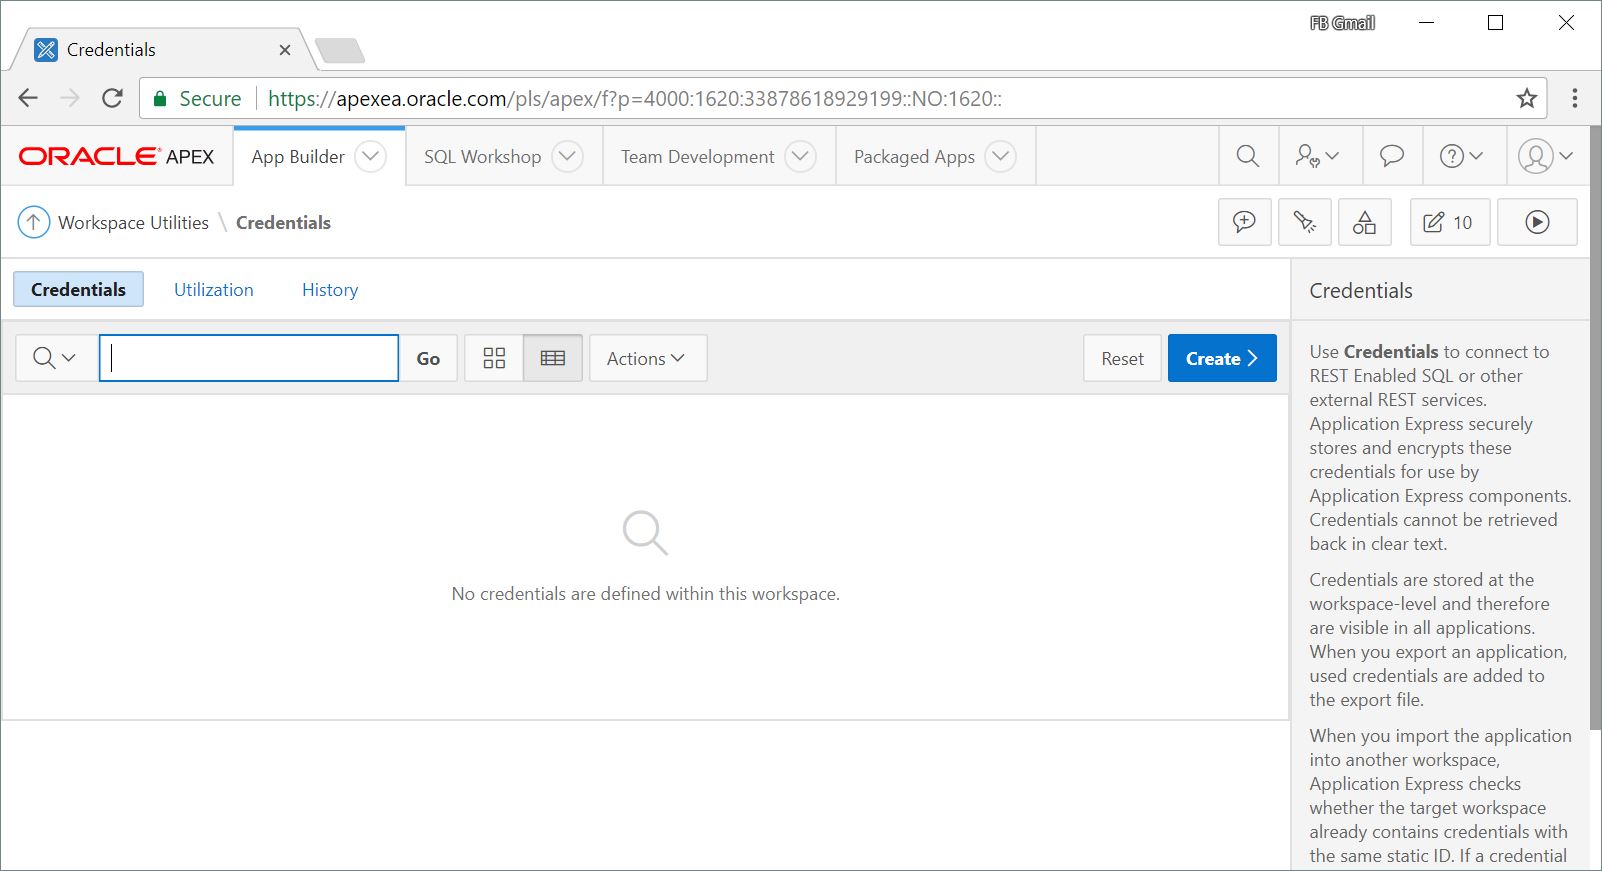
- Go to
Shared Componentsand then clickCredentials.
- Click
Create.
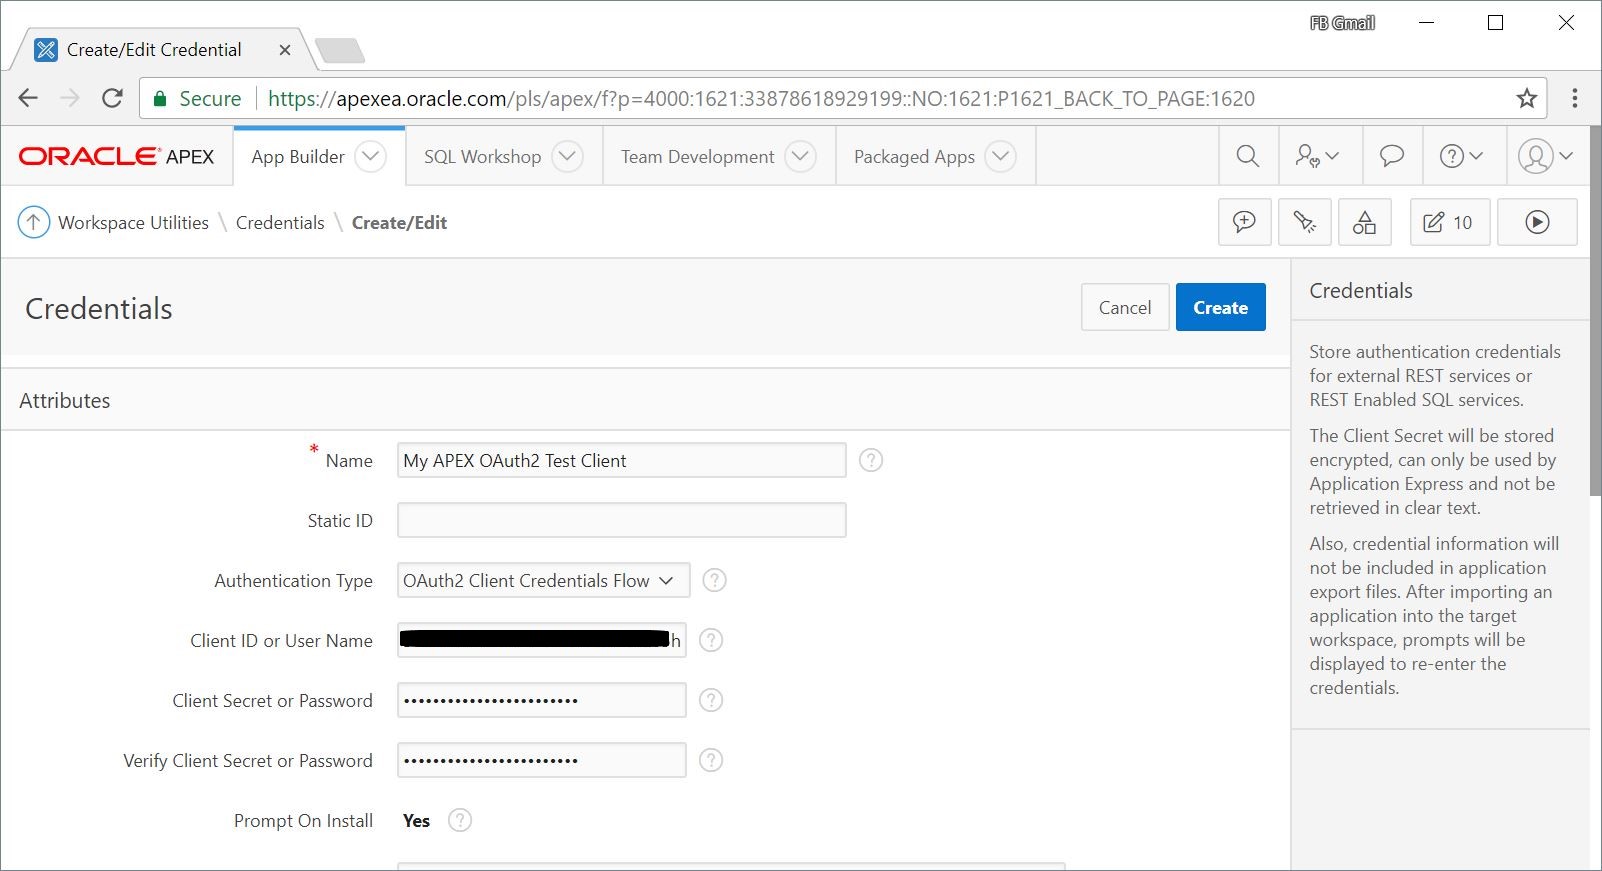
- Enter a name for the credential you are about to store.
- Select the
OAuth2 Client Credentials Flowfor theAuthentication Type. - Enter the
Client IDandClient Secretobtained from the Google Developers console. - Click
Create.
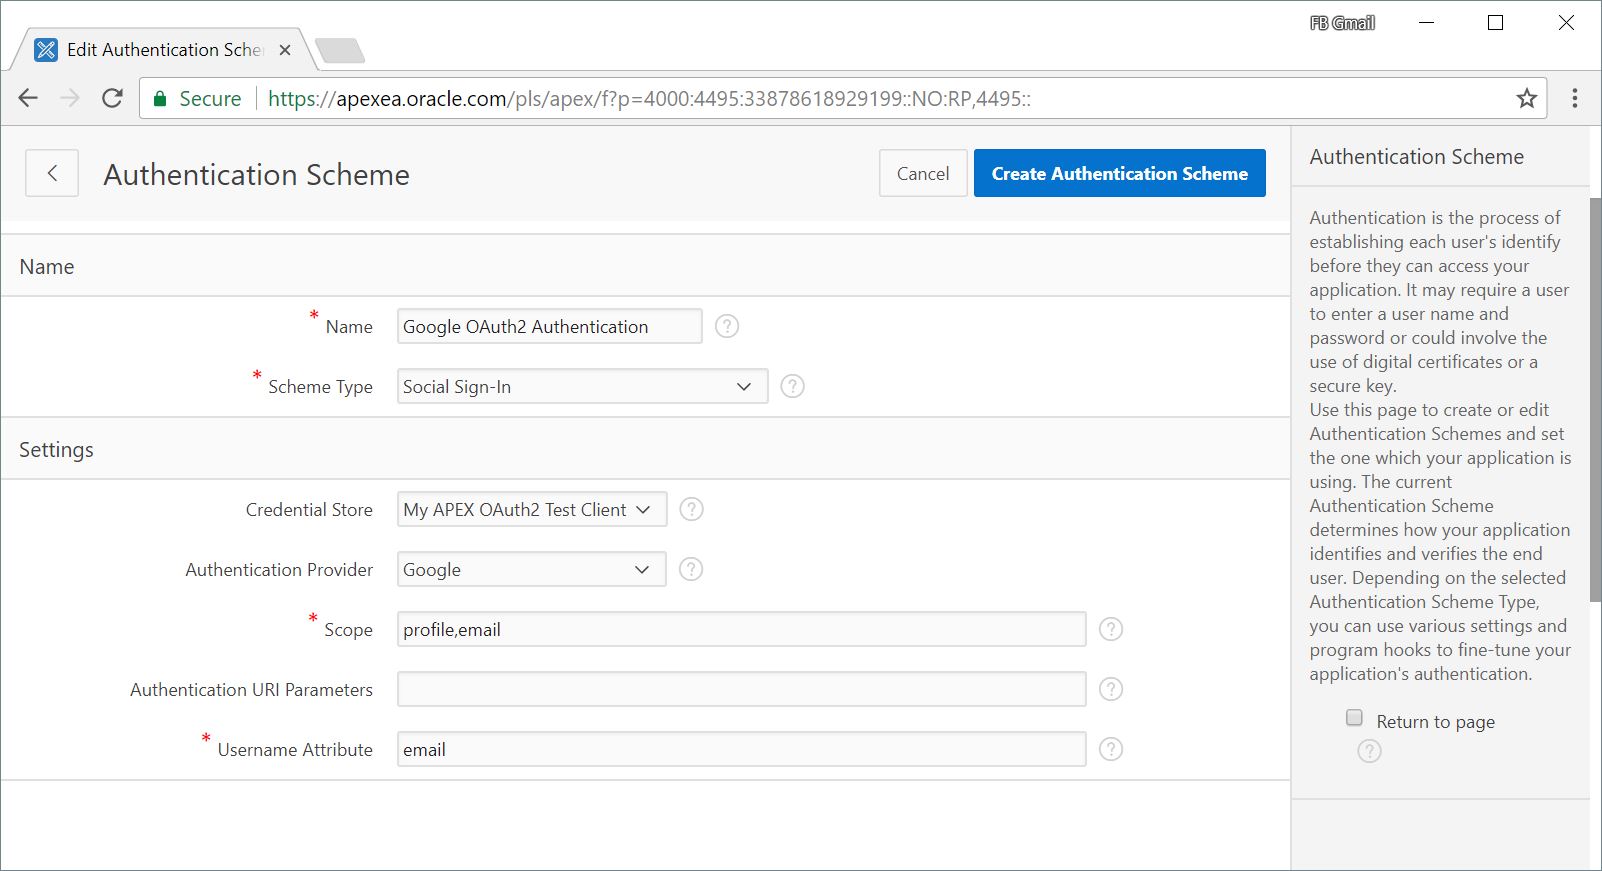
- Create a new Authentication Scheme.
- Select
Social Sign-Infor theScheme Type. - Select the credential you created earlier and then
Googlefor theAuthentication Provider. - Enter
profile,emailin theScopefield, andemailfor theUsername Attribute.
The email address of the user will be username (a.k.a.
APP_USER) in your APEX application.
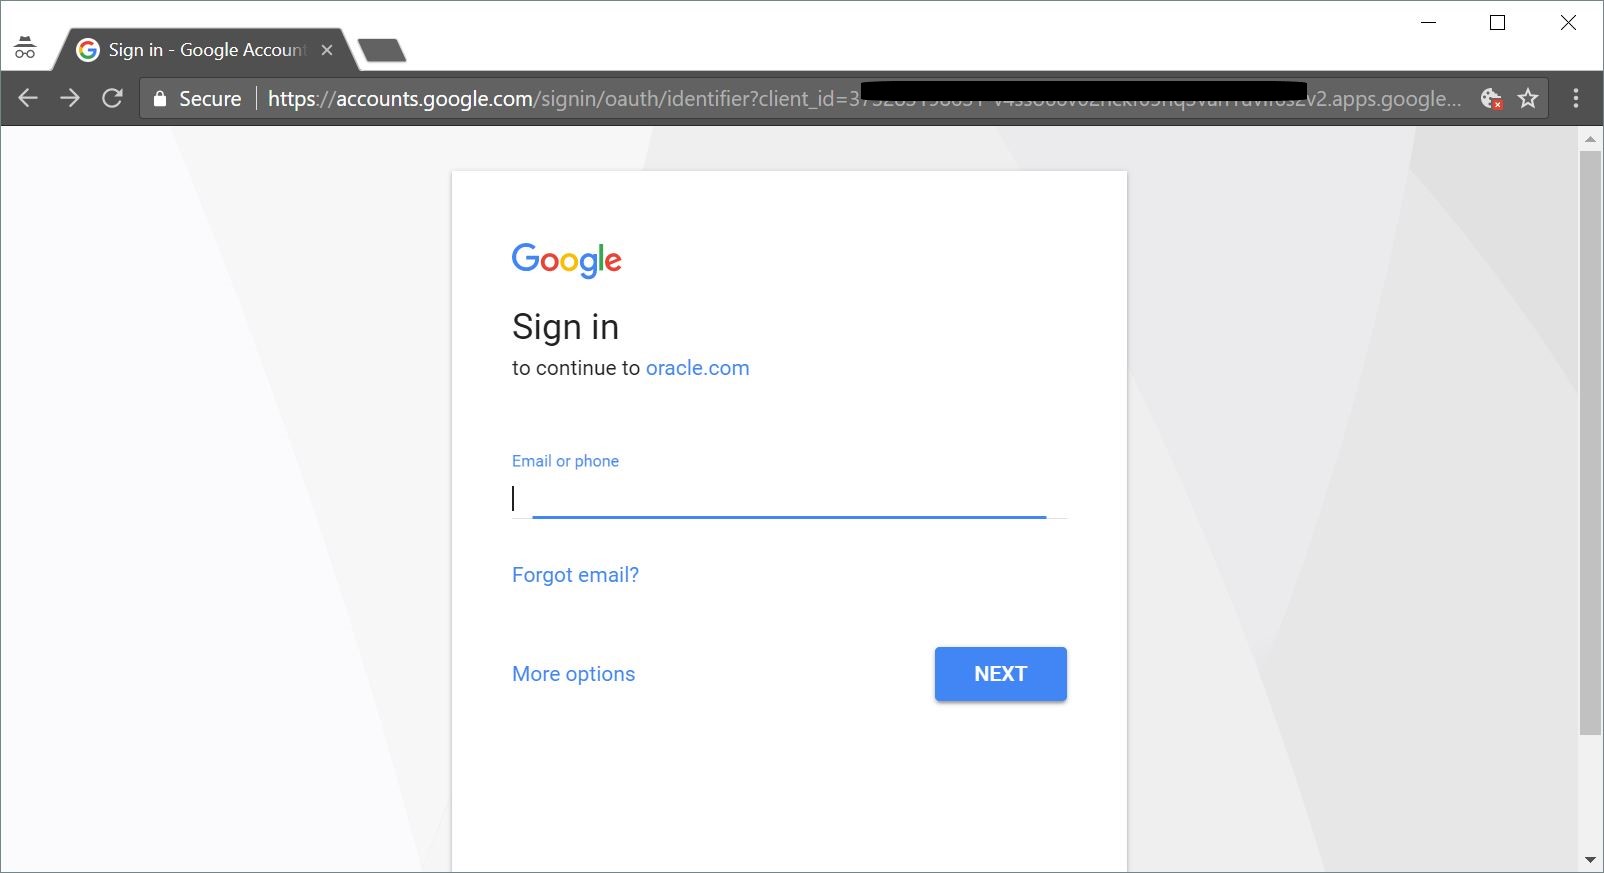
Run the application. If everything was configured correctly, you will be prompted to login with your (any) Google Account.
You might observe that the application's logout link has no effect. However, take a closer look and you will see that the session identifier changes. Logging out only terminates your APEX session, but since your Google sign-on session is still valid, you are automatically authenticated back into the application. To ensure a proper logout, set the post-logout URL. For Google, this is https://account.google.com/logout.
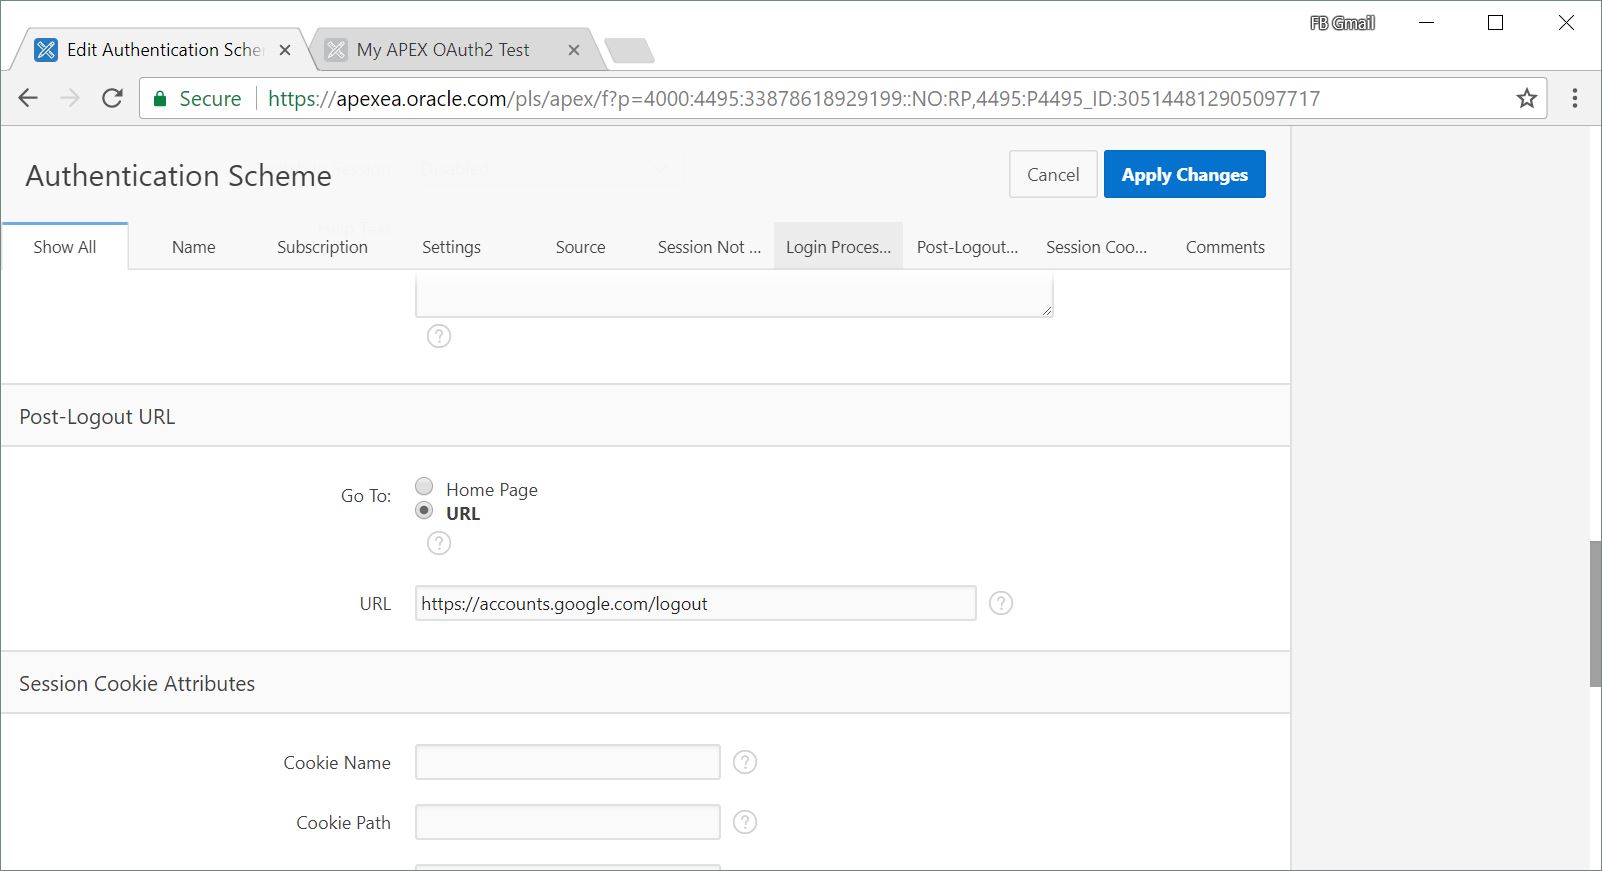
Unfortunately, Google does not allow post-logout, third-party site redirects, so users will need to re-enter your site's URL again to access the application.
In the absence of official documentation, this is my best guess on how to set this up. As we progress towards the final release, we should get better clarity on the correctness of this article.
Meanwhile, HAPPY NEW YEAR and HAPPY AUTHENTICATING!
UPDATE [May 4, 2018] apex.oracle.com was upgraded to APEX 18.1 (previously known as 5.2) last month. The instructions provided in this blog post is still relevant. Simply replace any links or references using
apexeatoapex. For enabling authentication with the Microsoft platform, please see Morten Braten's post.