Making the Move to the Autonomous Database


In my previous post, I mentioned that I have created my Oracle Cloud Free Tier account and provisioned an Autonomous Database (ADB). Now, I'm ready to move my existing Oracle Application Express (APEX) to this new environment. Next, I'll describe the steps I took to move (1) workspace, (2) application and (3) data, from the old to new database.
Scope
To better illustrate the move process, let's create some fictious information about what I am about to move.
| Property | Value |
|---|---|
| Source server hostname | dev.contoso.com |
| Source database name | XE |
| Database dump directory on source server | /tmp/cloud-migration |
| Dumpfile filename | cloud-migration.dmp |
| Source data pump target directory | CLOUD_MIGRATION_DIR |
| Target database name | ATP01 |
| Oracle Cloud Region | Ashburn, United States |
| Object Storage namespace | abcdefgh |
| Bucket name | cloud-migration |
| Workspace ID | 1234567890 |
| Workspace name | CONTOSO_WEB |
| Workspace administrator username | admin |
| Workspace schema name | contoso_apps |
| Auxiliary schema names | logger |
| APEX applications | 1000 - Contoso Web; 1400 - Contoso Content Management System |
| Working directory on workstation | /home/jdoe/cloud-migration |
Note
The source server does not expose the database port 1521. Connection to the database from my workspace requires using a SSH tunnel.
Tools Required
Install the following software in the environment that
- SQLcl
- Oracle Instant Client
- Basic
- Tools (includes the Oracle Data Pump utilities expdp and impdp)
Export Components from Old Database
Export APEX Workspace and Applications
-
Start SQLcl:
sql /nolog -
Create SSH tunnel and local port forwarding:
sshtunnel oracle@dev.contoso.com -L 1523:localhost:1521 -
Connect to the dataabse as contoso_apps:
connect contoso_apps/secret@//localhost:1523/XE -
Obtained the workspace ID:
select to_char(workspace_id) from apex_workspaces where workspace = 'CONTOSO_WEB'; -
Export the workspace:
apex export -workspaceid 1234567890 -expWorkspaceThis will produce a file named after the workspace ID, e.g.
w1234567890.sql -
Export all APEX applications in the workspace:
apex export -workspaceid 1234567890Optionally, specify only the applications by id, using the
-applicationidparameter. The export process would produce files named after the application ID, e.g.f1000.sqlandf1400.sql. -
If there are any REST services to be migrated, then execute the following:
spool rest_services.sql
rest export
spool off -
Logout.
-
If REST services were exported, then execute the following:
echo "/" >> rest_services.sql
Export Schemas
Login to the source database using SSH as user oracle. The subsequent commands in this section will be executed on the source server.
- Login to the database as SYSDBA:
sqlplus / as sysdba - Create the target data dump directory:
host mkdir /tmp/cloud-migration - Create the directory object:
create directory CLOUD_MIGRATION_DIR as '/tmp/cloud-migration'; - Grant the system user
READandWRITEprivileges:grant read, write on directory CLOUD_MIGRATION_DIR to system; - Exit SQL*Plus.
- Run the export data pump utility (expdp) to export the schema objects:
expdp system schemas=logger,contoso_apps  \
  directory=CLOUD_MIGRATION_DIR dumpfile=cloud-migration.dmp \
logfile=exp_cloud-migration.log - Logout from the source server.
Preparing for Import
- Grab the dumpfile (and log file if necessary):
scp -r oracle@dev.contoso.com:/tmp/cloud-migration/* . - The local working directory
/home/jdoe/cloud-migrationshould now contain the following files:cloud-migration.dmpexp_cloud-migration.logf1000.sqlf1400.sqlrest_services.sqlw1234567890.sql
Import Components into ADB
Import the Workspace
- Login to the ADB's APEX Administration Services as the admin user:
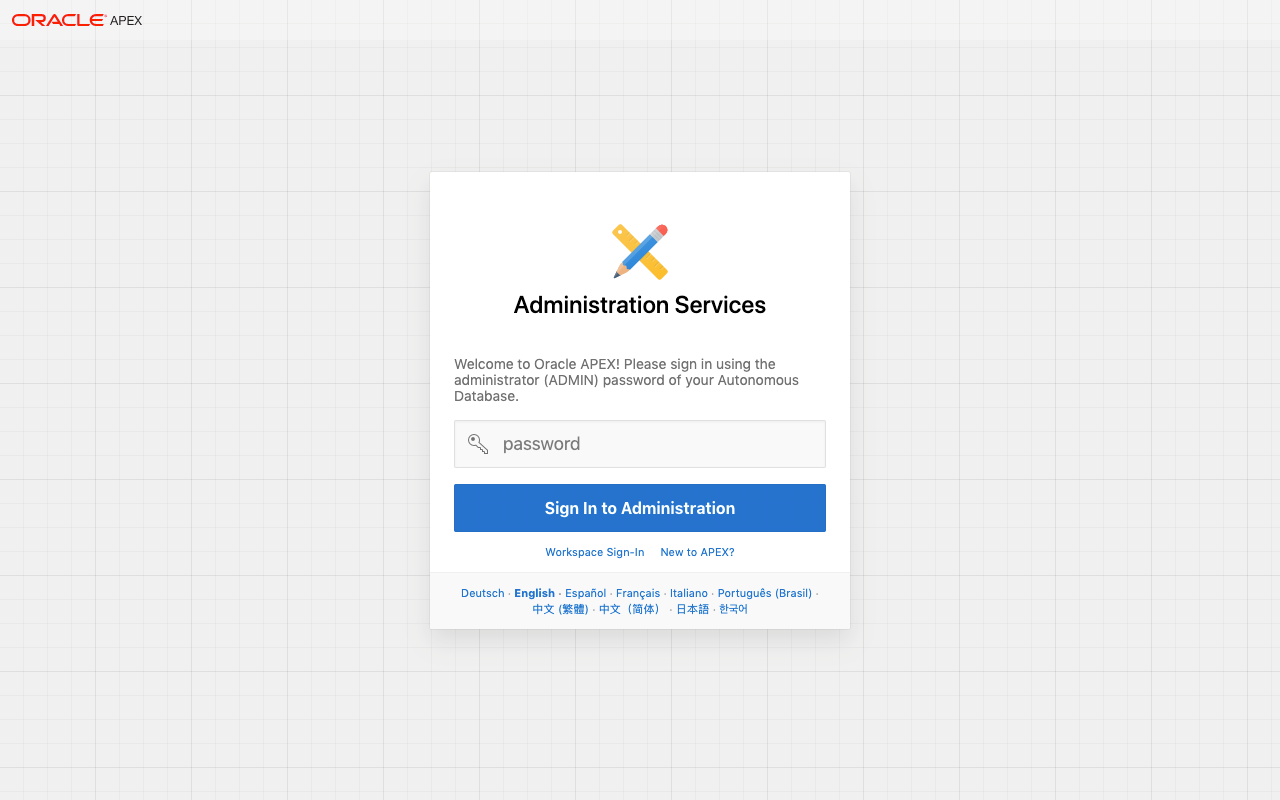
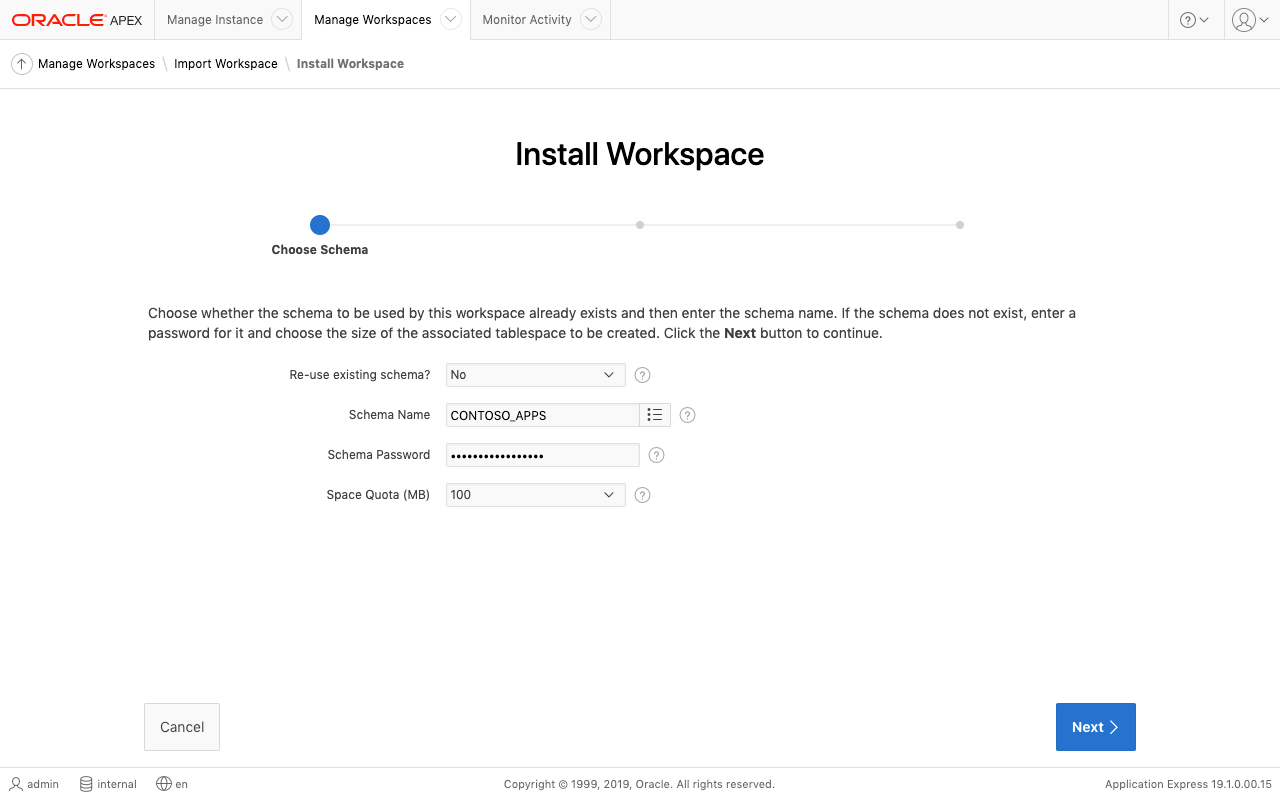
- Use the Manage Workspaces utilities to import the workspace from the file
w1234567890.sql. - During the import process, create the workspace schema. Set the password and space quota as required.
Prerequisites for Using IMPDP with ADB
Data can be imported into an ADB using Oracle Data Pump. However, since we do not access to the database server's file system, Object Storage must be used to deliver the dumpfile.
The official instructions to prepare for data pump can be found here. The following is a summary account of what I did.
Object Storage
- Access the Oracle Cloud Object Storage.
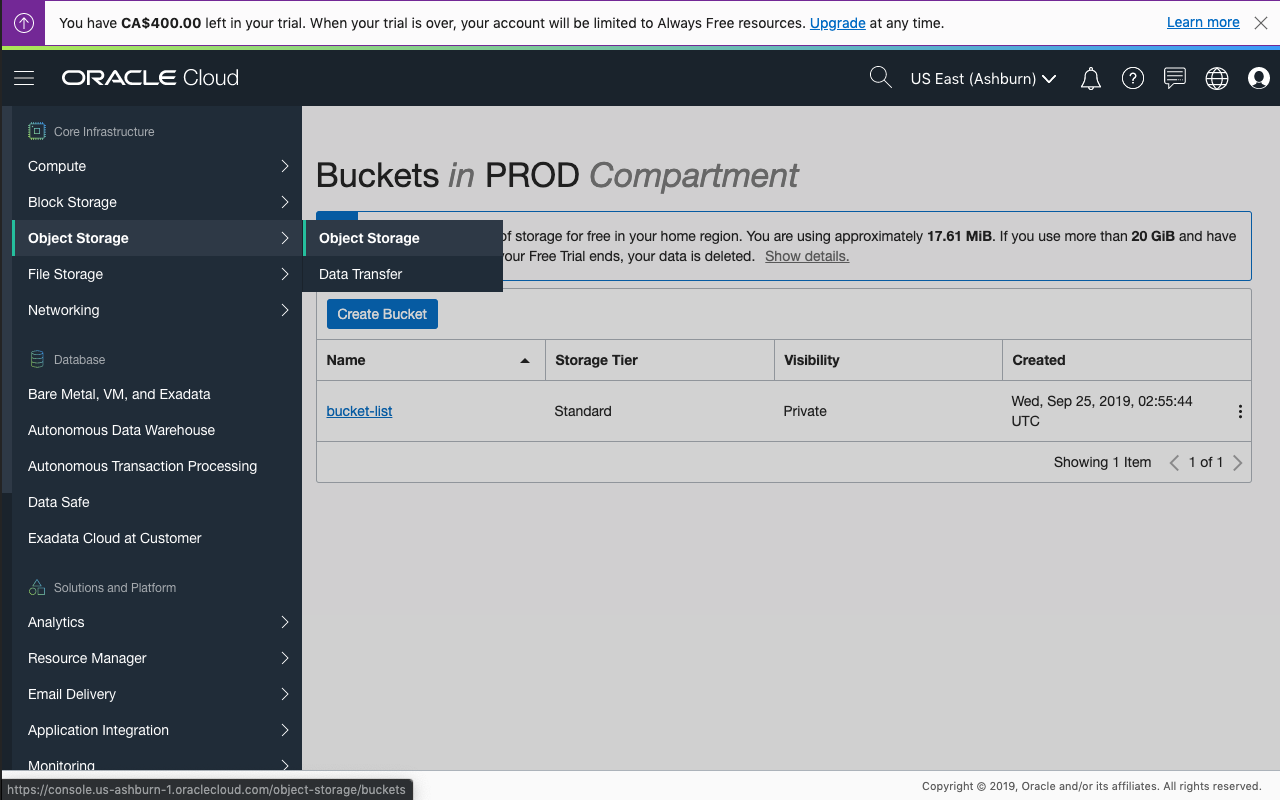
- Create a bucket and name it
cloud-migration.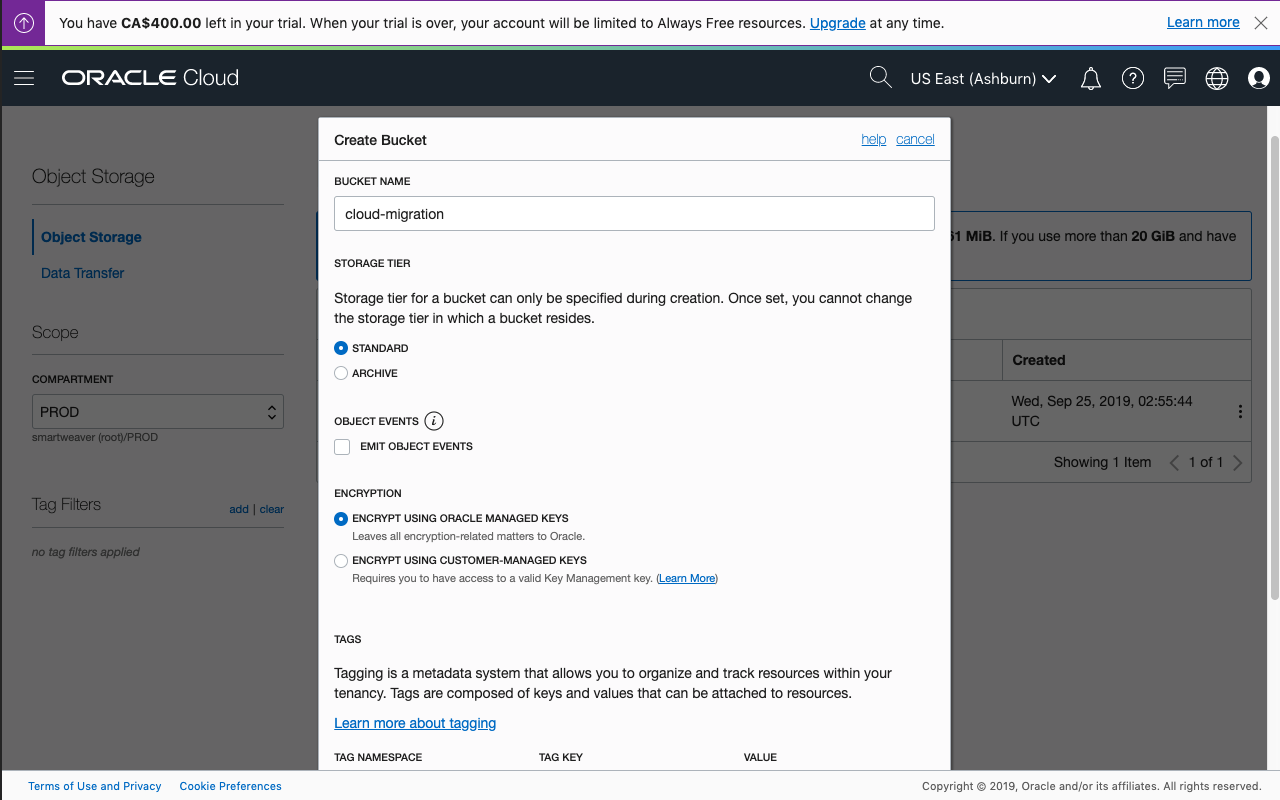
- Take note of the Object Storage namespace (1) that is required for determining the URI for the dumpfile.
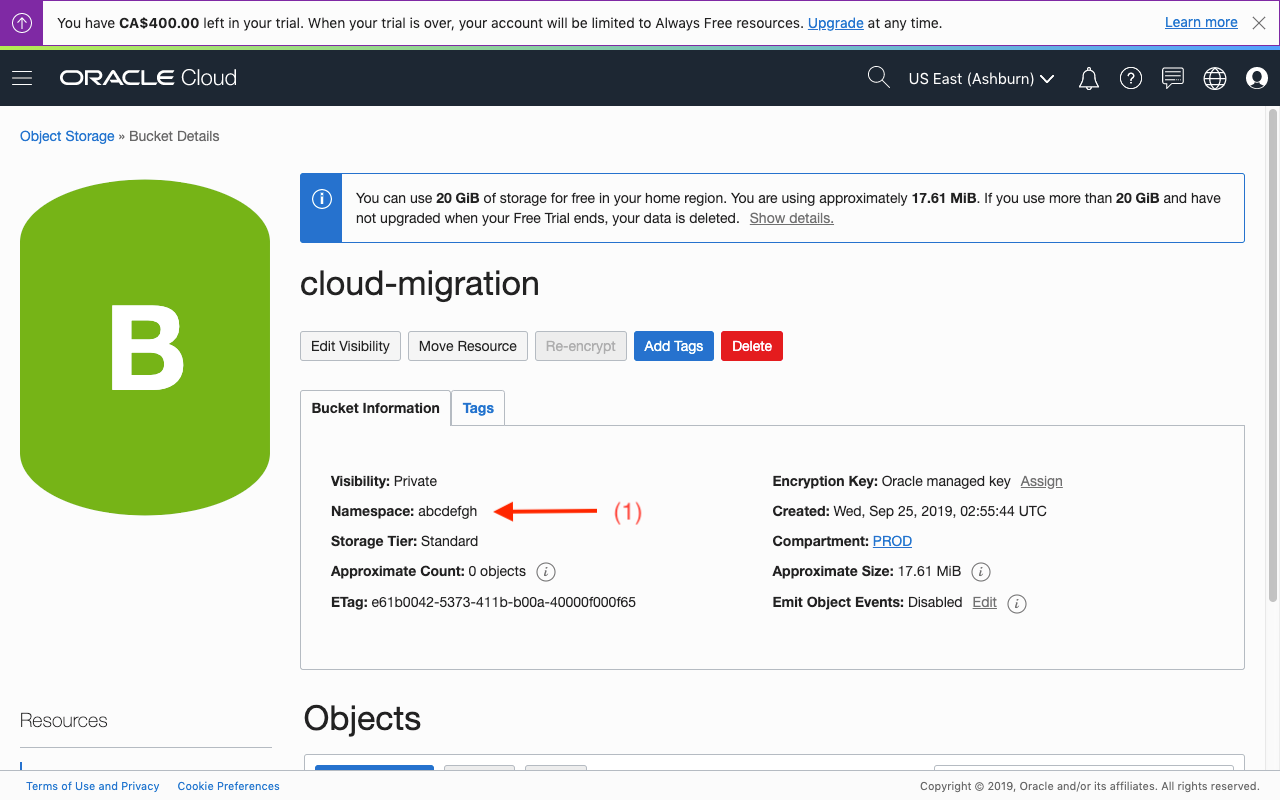
- Upload the dumpfile
cloud-migration.dmpto the bucket.
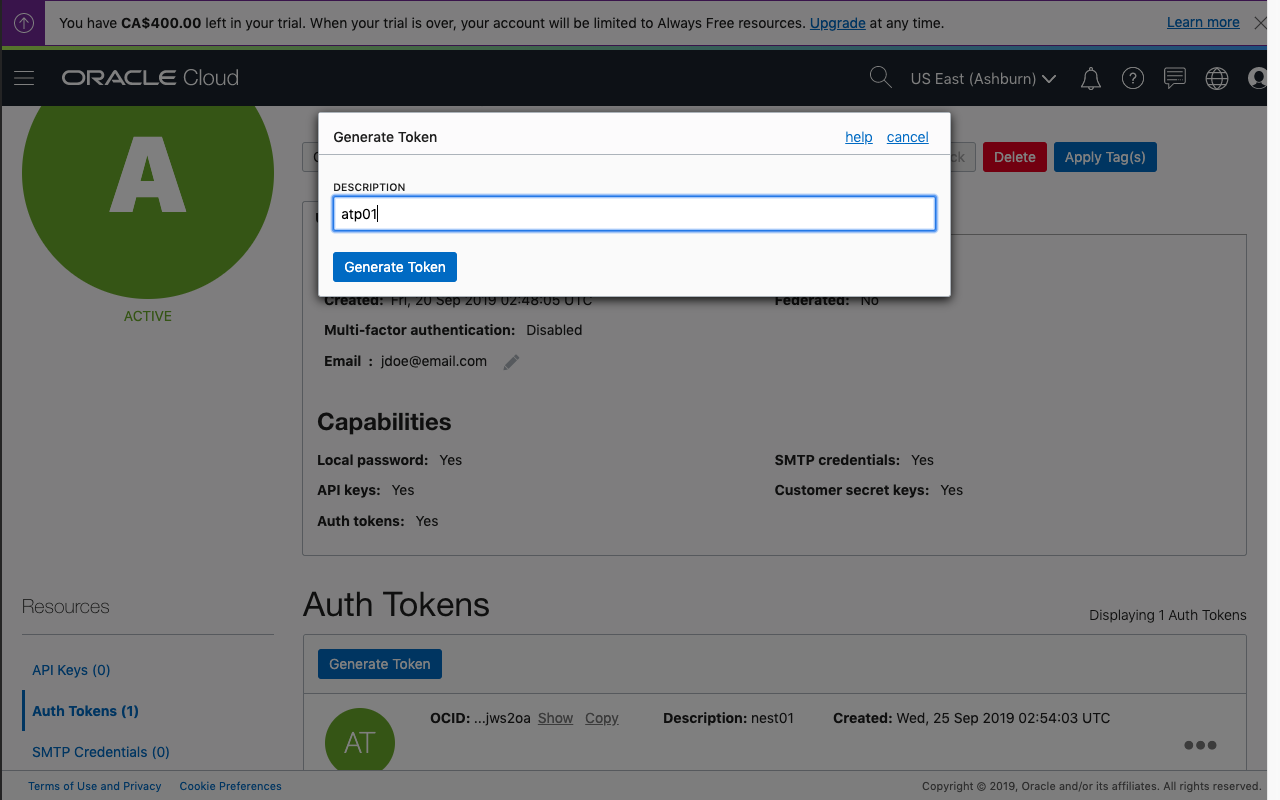
Set Cloud Credentials for ADB
- Generate an Auth Token for a user in the tenant with the necessary access to the bucket and its contents.
- Set the Cloud Object Storage credentials:
begin
  dbms_cloud.create_credential(
    credential_name => 'DEF_CRED_NAME'
    , username => 'jdoe'
    , password => 'the_generated_auth_token'
  );
end;
/
Instant Client Setup for ADB
Official instructions for setting up your system to connect to the database using the tools provided by the Oracle Instant Client, including the Oracle Data Pump utilies needed for importing the data, can be found here.
Here's a quick overview of what I did:
-
Download the Cient Credentials (Wallet) from the ADB's Service Console.
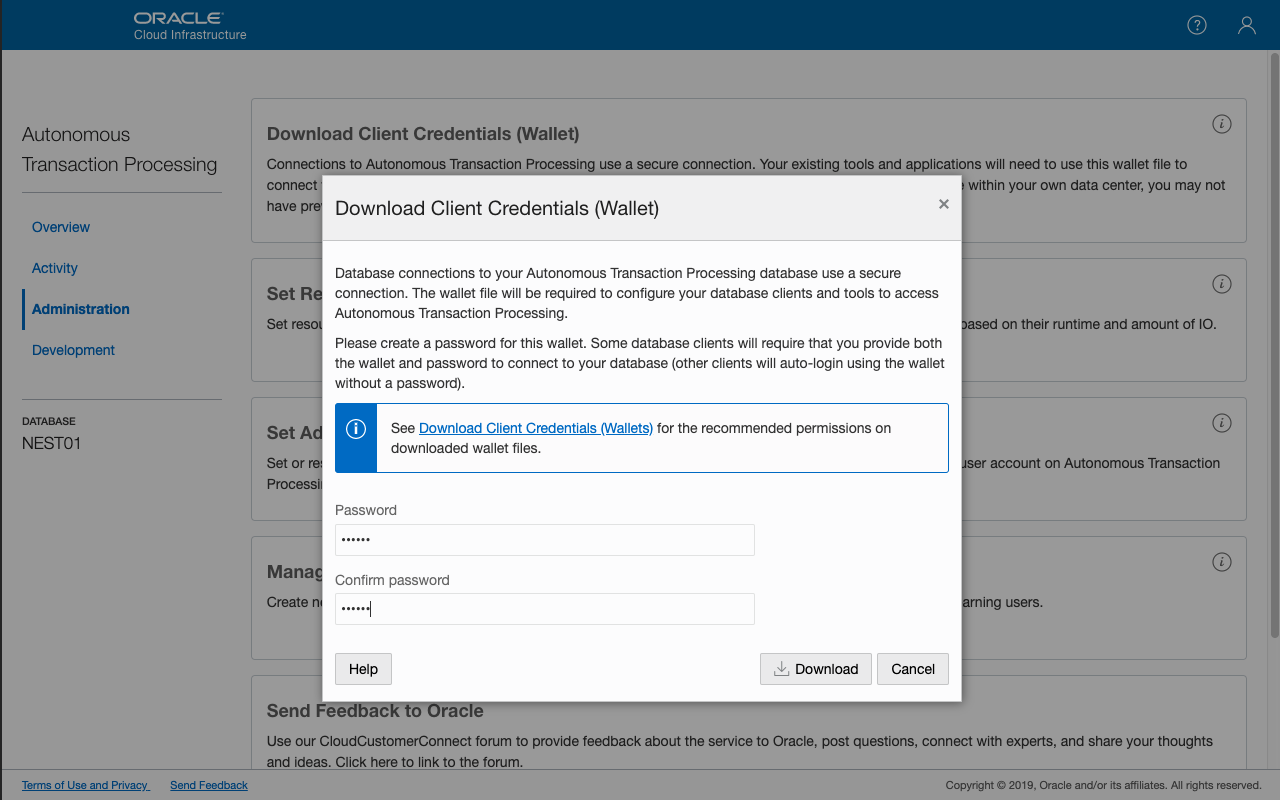
-
Set the enviroment variable
TNS_ADMIN:export TNS_ADMIN=/home/jdoe/.wallets/atp01The Oracle Wallet,
sqlnet.oraandtnsnames.orafiles will be stored in this path. The directory contents are required by the Oracle Instant Client tools to resolve the network service names for connecting to the ADB. The environment variable must be set prior to running any of these applications. -
Create the wallet directory:
mkdir -p $TNS_ADMIN -
Extract the contents of the ZIP file into the wallet directory:
unzip wallet_ATP01.zip -d $TNS_ADMIN -
The wallet contains a
sqlnet.orafile. Replace the path?/network/admin, specified for the parameterDIRECTORY, with the wallet's path (TNS_ADMIN).sed -i .bak "s|?/network/admin|$TNS_ADMIN|g" $TNS_ADMIN/sqlnet.ora
Create Auxiliary Schemas
- Launch SQLcl:
sql /nolog - Login to the ADB using SQLcl as admin, the administrator account created when the database was provisioned.
connect admin/supersecret@atp01_high - Create the auxiliary user and grant needed privileges and quota. For example:
-- Create user and set quota on DATA, the tablespace for users in ADB.
create user logger identified by "secret" quota 50M on data;

-- Grant privileges required by Logger.
grant connect, create view, create job, create table, create sequence
, create trigger, create procedure, create any context to logger; - Logout from the database.
Import Schema Objects
-
Run the import data pump utility (impdp), avoiding the recreation of certain objects as specified by the
excludeoption:impdp admin@atp01_high directory=data_pump_dir credential=def_cred_name \
dumpfile=https://objectstorage.us-ashburn-1.oraclecloud.com/n/abcdefgh/b/cloud-migration/o/cloud-migration.dmp \
schemas=logger,contoso_apps parallel=16 transform=segment_attributes:n \
transform=dwcs_cvt_iots:y transform=constraint_use_default_index:y \
exclude=cluster,db_link,user,tablespace_quota,default_role- Details about the DBMS_CLOUD Package File URI format can be found here. The namespace was noted in an earlier section of this post.
- The exclusions include the creation of a user and modifications of certain properties about the user. The schemas were created in earlier sections of this article. They are redundant and will likely result in errors.
- Take note of the data pump logs. If necessary, download a copy for further analysis and future reference.
Import Applications
- Launch SQLcl:
sql /nolog - Login to the ADB as the workspace schema user:
connect contoso_apps/secret@atp01_high - Set the workspace:
apex_util.set_workspace('CONTOSO_WEB'); - Load and execute each application export file to import the application to the target workspace:
@f1000.sql
@f1400.sql - Import the REST services if any:
@rest_services.sql - Exit the application.
Post-Migration Tasks
After migrating the applications and data, here are some recommended tasks:
- Check for missing grants and assign them as necessary.
- Re-create and database links required by the application.
- Search for objects like packages and triggers that did not compile successfully during the import process. Fix any issues and recompile the objects.
- Note the issues highlighted in the previous post concerning workspace developer/administrator access.
- Test all applications.
Hope I didn't miss any steps. If you do notice any or mistakes, please let me know in the comments below.
Thanks for reading!